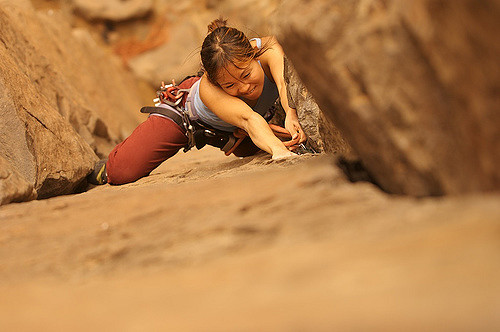
Xtreme Climbing will challenge students physically, mentally, and emotionally as they try to conquer bouldering problems designed for beginners.
RA’s needed: 2
Supplies: Basic climbing or Parkour knowledge
Location: Everywhere
Description: Leave the chalk bag, but don’t forget your bouldering skills. (If you’re looking to cut down on the number of students, make lots of references to climbing stairs: “Make like Rocky! You’ll be a star amongst the stairs! First one up wins!”
*Host this activity on the third week of CTY, to minimize time students have to repeat the exercises while at camp.
Pre-Activity Talking Points:
1. Each bouldering problem takes time, so you must move quickly. Students must hustle and obey all directions.
2. The disclaimer: what you do at this activity cannot be repeated at any time while at CTY. A possible consequence of doing so is dismissal; the administration allows RA’s to run this activity because they control the environment. John Hopkins or the Center for Talented Youth is not liable for anything you attempt at home, in your own time.
3. Although it may seem otherwise, this activity is more about technique than strength. Technique will take you places strength cannot.
4. Finally, the end objective of Xtreme Climbing is for you to walk away with your eyes opened. Too often, we walk through our environments without ever seeing anything. After this activity, we hope you no longer just see a bench, a street lamp, or stairs. We hope you see problems, and have the desire to solve them.
The Step Master
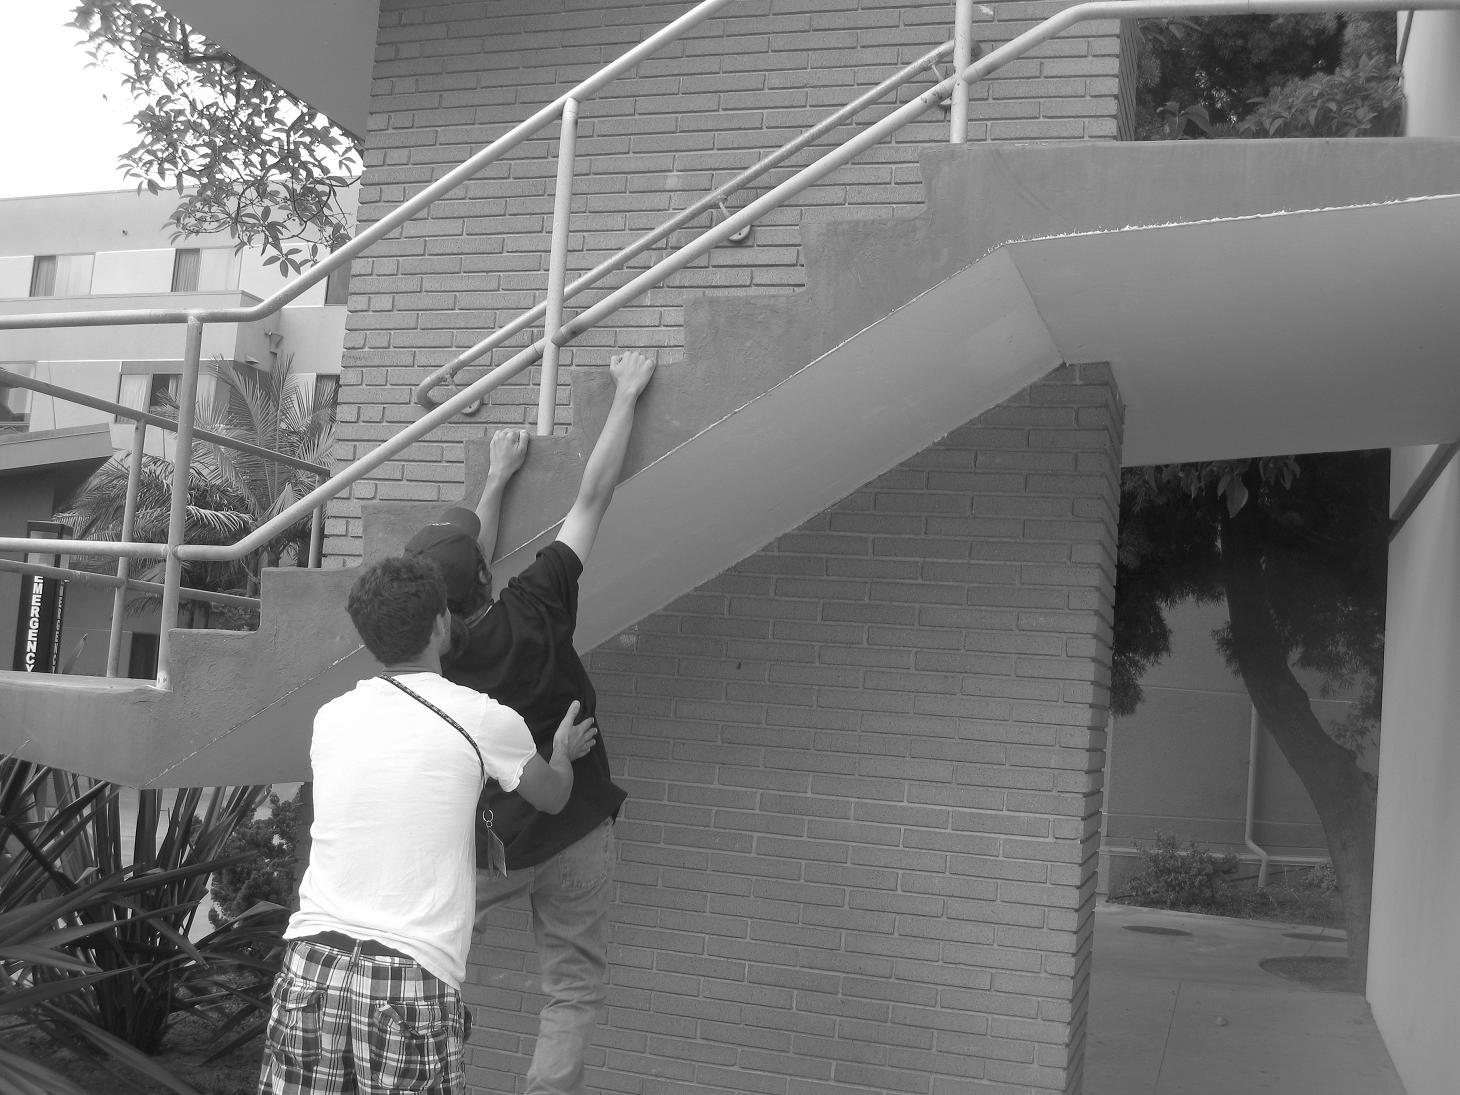
Location: Stairs to the side of Rosecrans
Description: Using just your arms, one arm at a time, work your way up the stairwell until you reach the top step. When you’ve reached it, drop down into the arms of the spotter.
Talking Points: Keep the arms locked at an 180 degree angle. This is a resting position. Bending the arm works the muscles and wastes energy. Teach the students that STRAIGHT ARM = REST, BENT = WORK. Also, if comfortable with DYNO’s (Dynamic Movements) feel free to let stronger students experiment: with both hands on a ledge, launch their bodies onto the next higher step.
Details:
1. RA’s must spot carefully this first activity – often a student will go for a grip and miss by the edge their fingernails. Spot from the hips, not the armpits, to prevent injuries.
2. Many of the female students haven’t developed the upper body strength to do this yet; encourage them that the bouldering problems later on rely more on technique.
3. Keep the line moving quickly.
Traversing
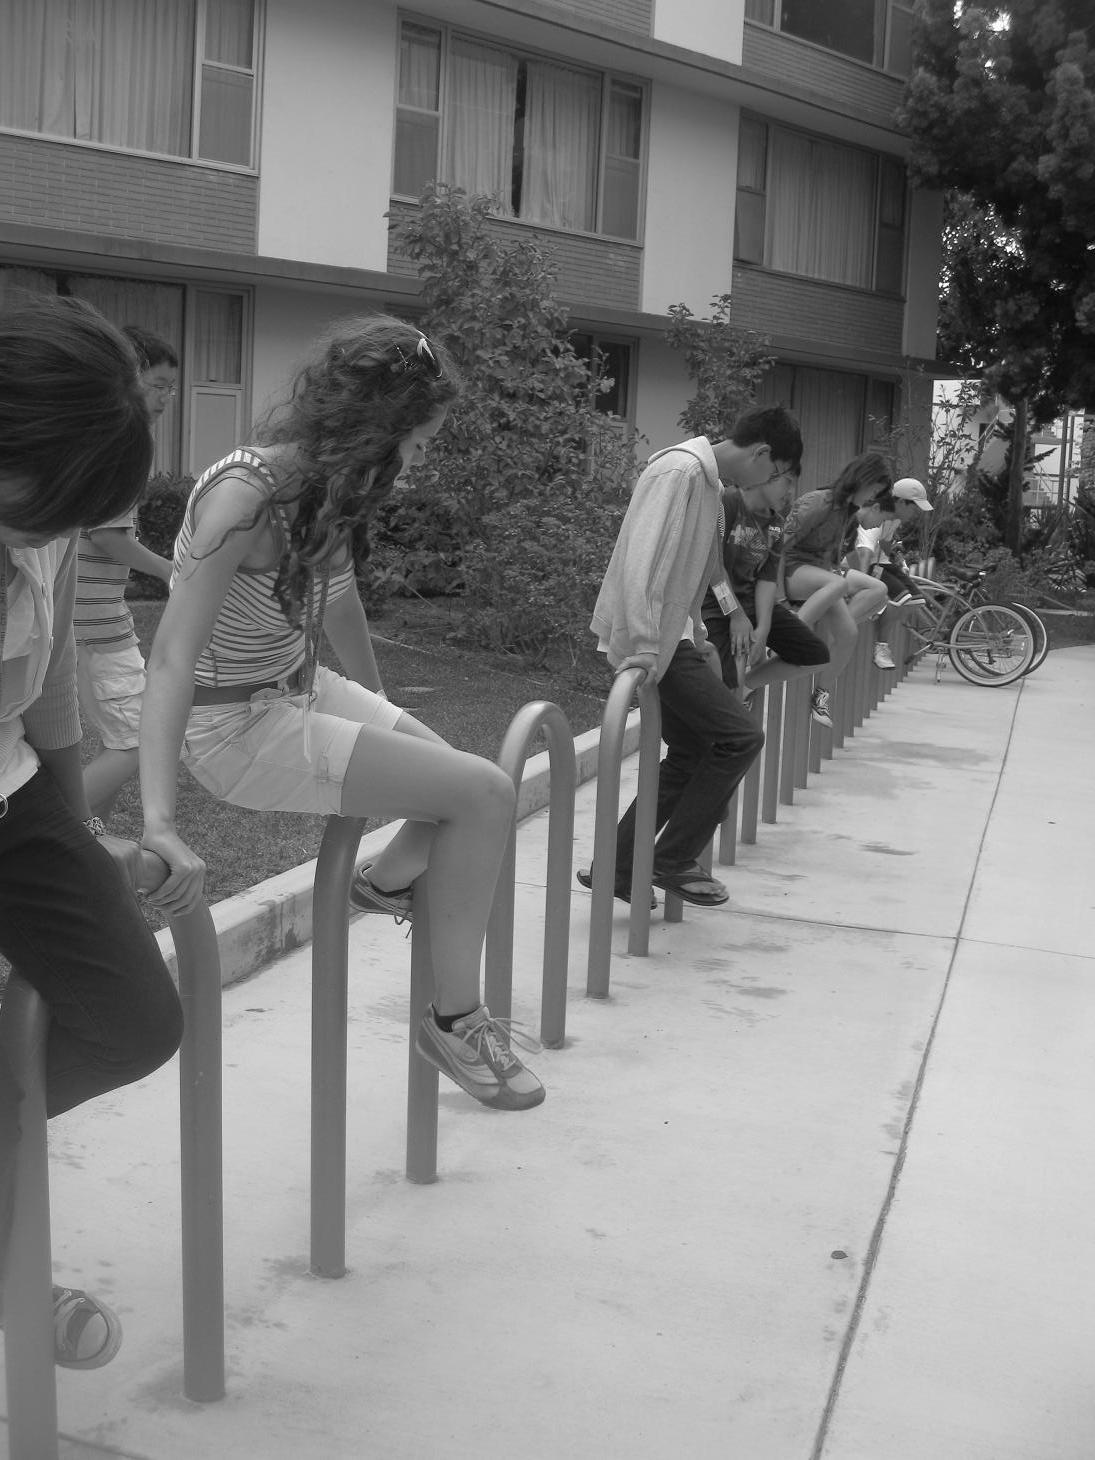
Location: Wall and Bicycle Parking Spots (U-shaped) Behind Rosecrans
Description: Traverse (sideways movement) through and around obstacles.
Talking Points: When encountering a problem set, the objective is to find or create the simplest, most elegant solution – the one that expels the least amount of energy. The objective in traversing is to use the least amount of motion, the fastest route, and the smallest number of steps.
Details
The Wall
1. Hands clutch the rail, feet planted firmly on the wall.
2. Students shuffle to their right, across the wall.
Bicycle Parking Spots
1. Students must traverse through or around the U-shaped Bicycle Parking Spots without touching the ground.
2. DO NOT LET STUDENTS WALK ACROSS THE TOPS OF THE PARKING SPOTS.
Advanced: The Loop
1. Sit on the ground, inside of the Bicycle Parking Spot.
2. With palms facing towards the body (like doing a chin-up) lift your body off the floor.
3. From this position, swing outside of the U-shape, and get back to your original starting position without touching the ground.
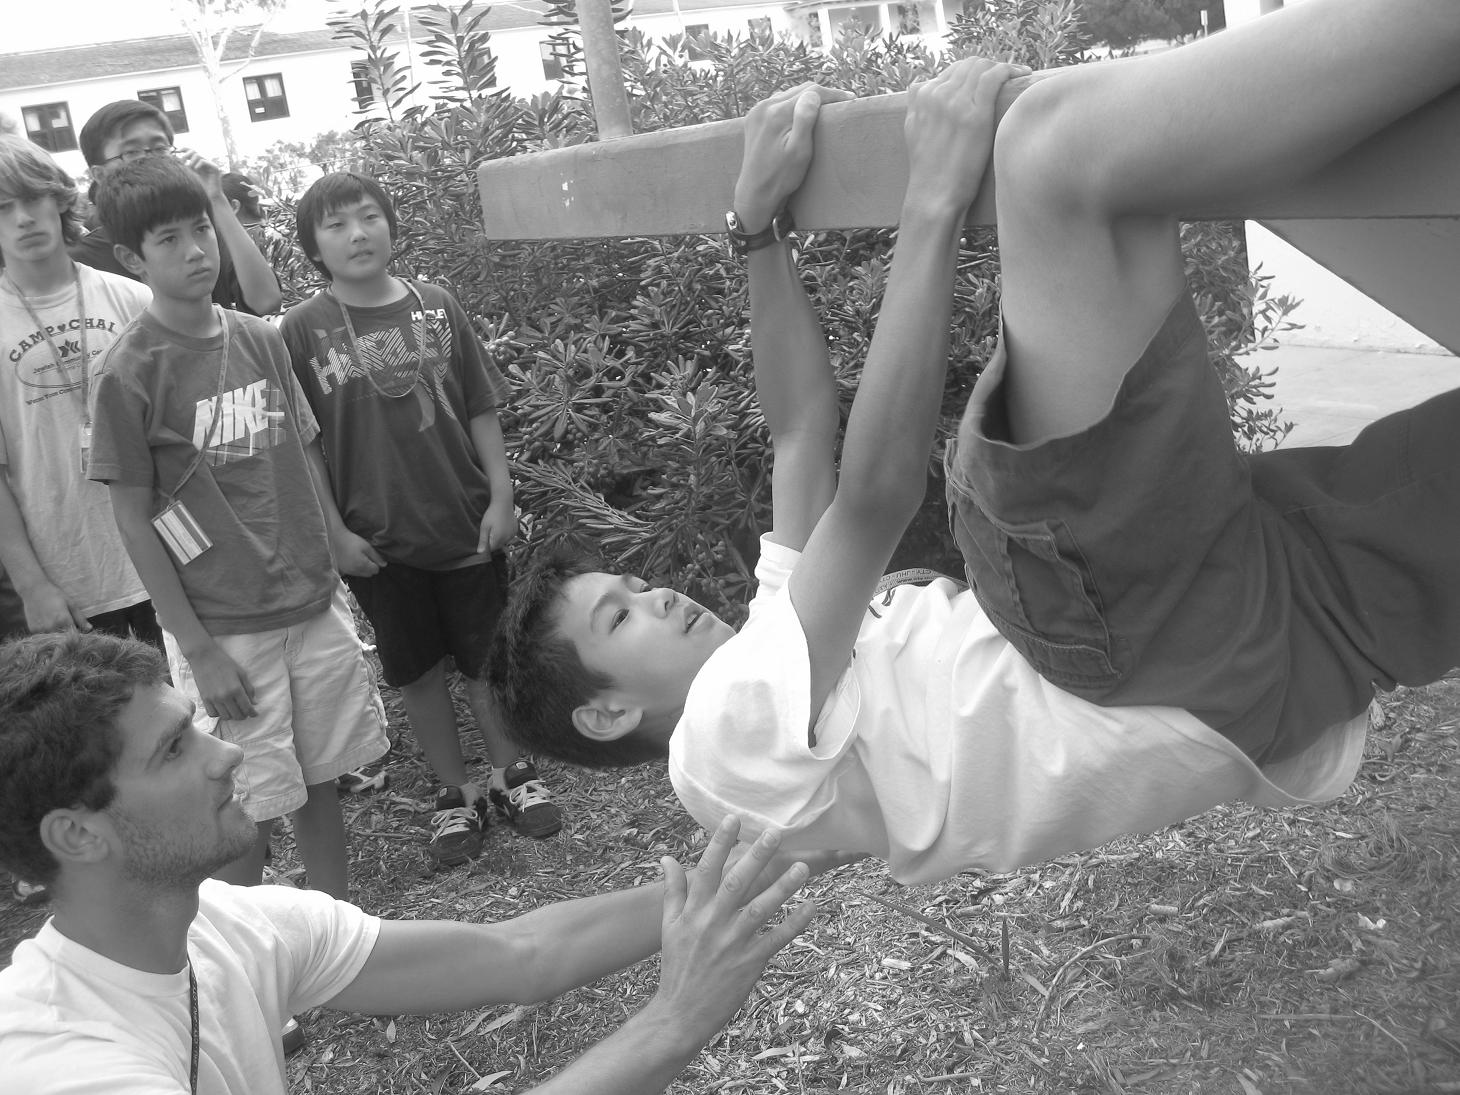
Heel Hooking
Location: Far side of Rosecrans
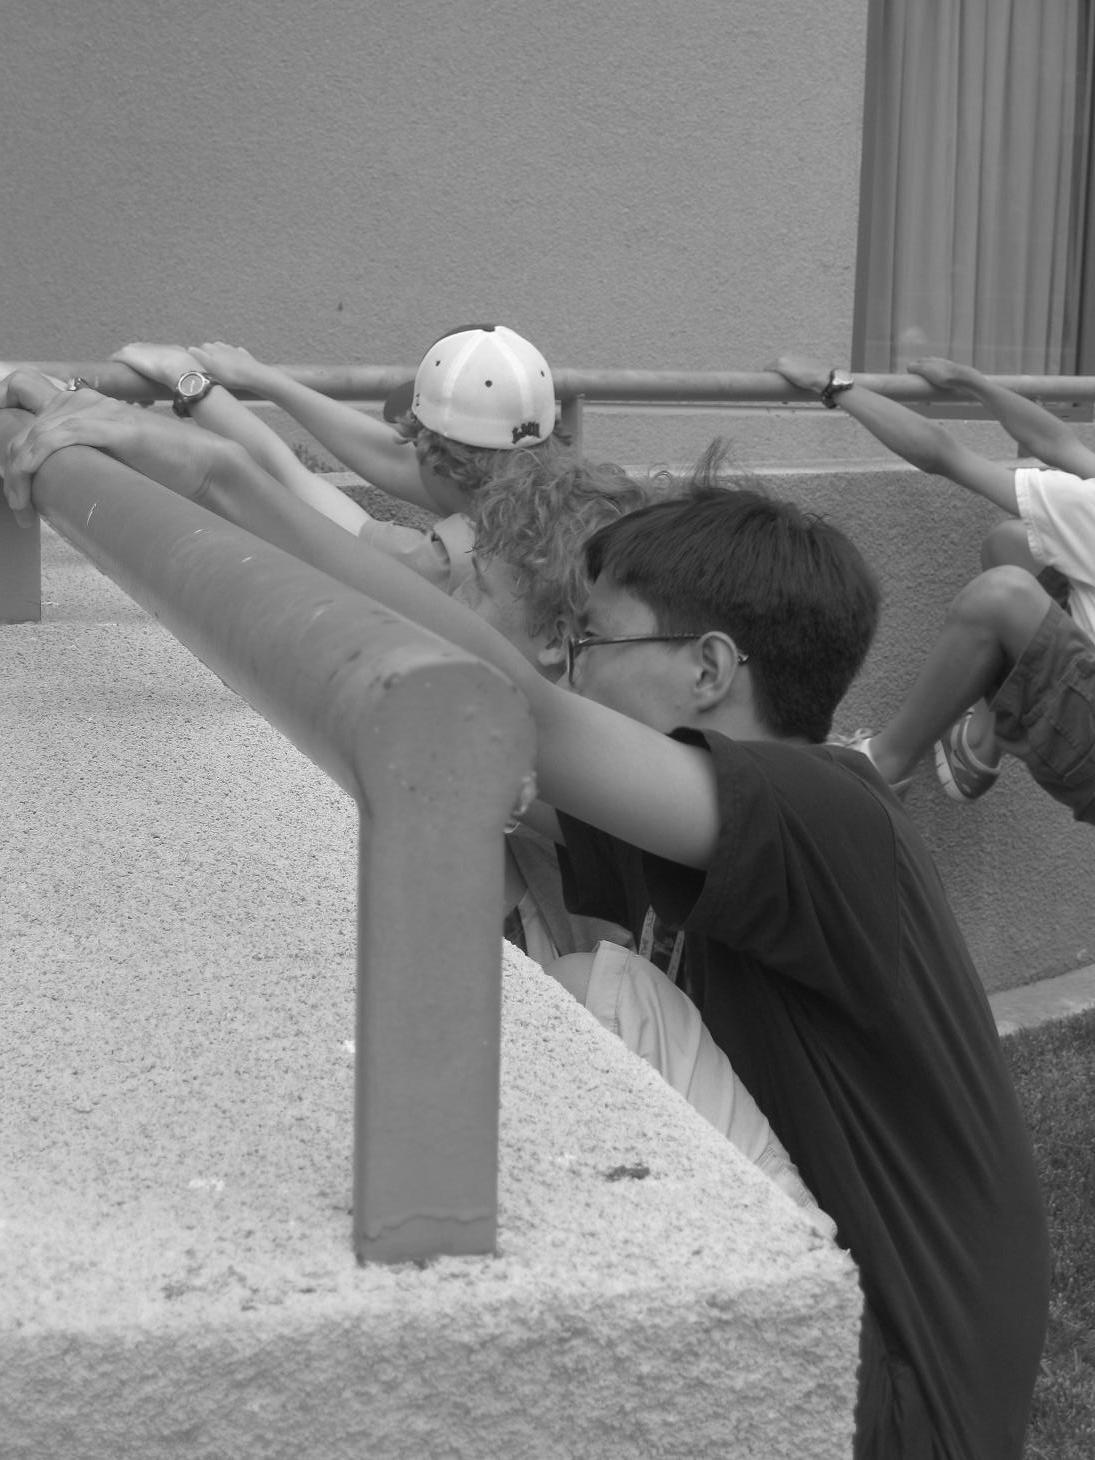
Description: Teach the principles of Heel Hooking from a suspended position.
Talking Points: The heel hook is a versatile and advanced climbing technique that, once mastered, can greatly reduce the tension and stress on the arm muscles.
Details
1. Hang from the railing, and with a short swing, get the legs onto the ledge, beneath the railing.
2. Show each individual student the correct positioning for the heel hook (just the heel should rest lightly on the ledge, not the calf.)
3. Shimmy or shuffle across the ledge, leading with the feet, following with the hands.
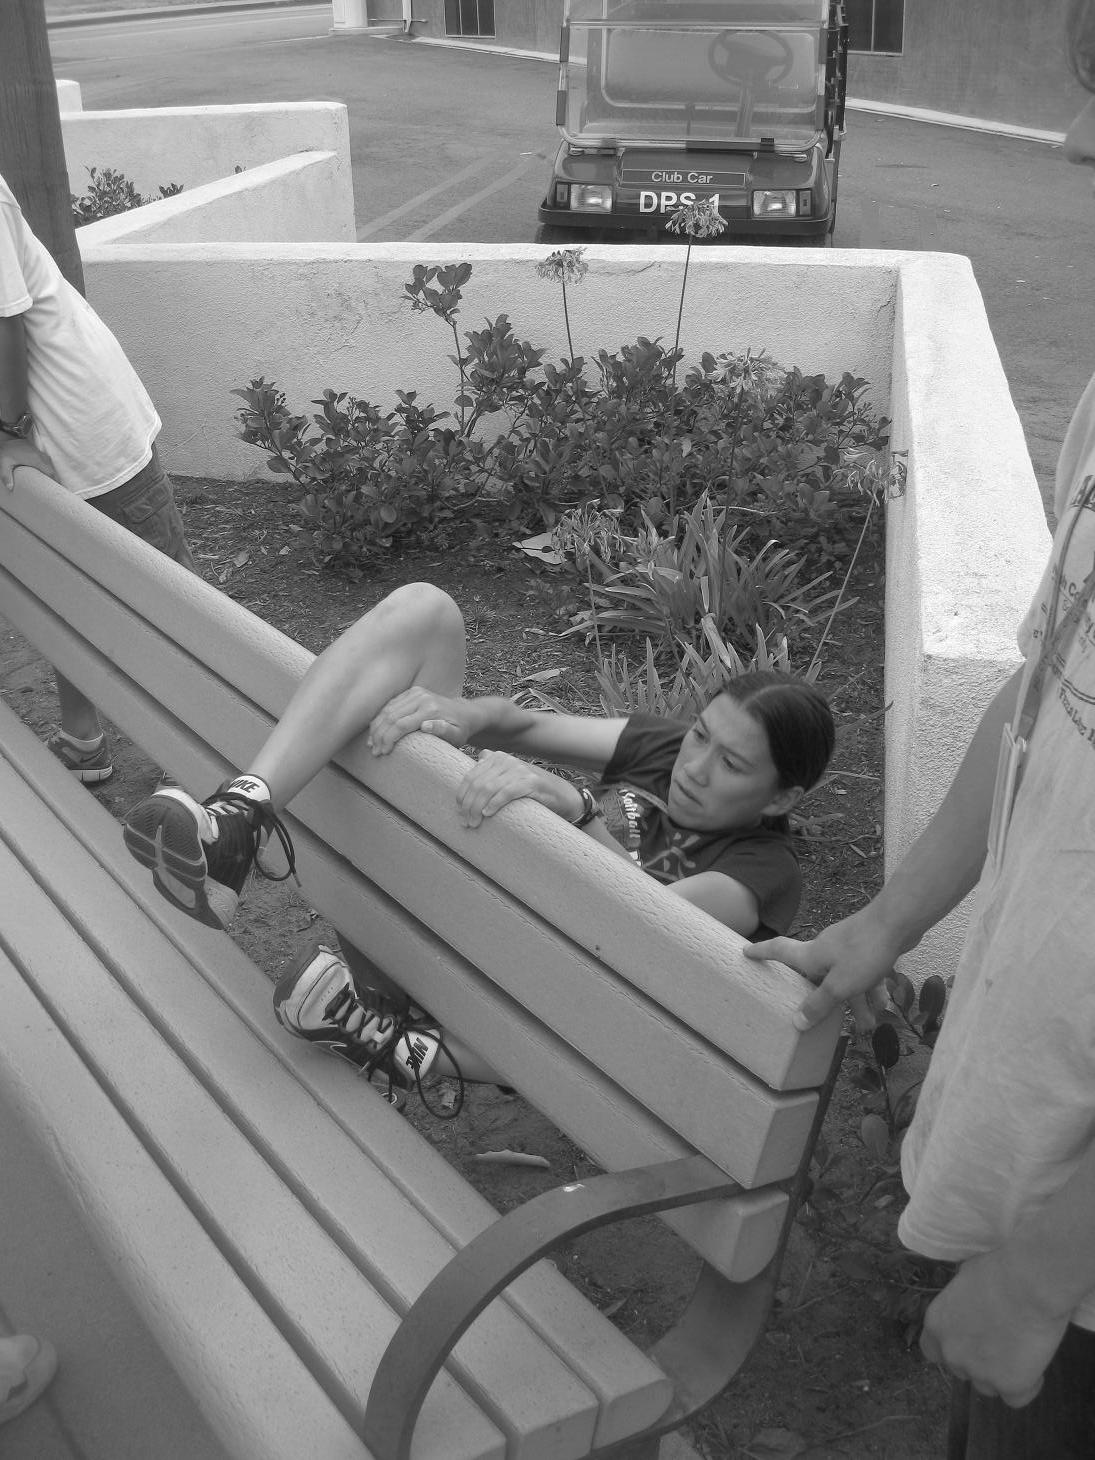
Benches
Location: Picnic and High-backed benches behind the Berlin Wall and outside of Jamba Juice
Description: From a lying position on the bench, crawl underneath it, then back over the top, and return to your original position without touching the floor.
Talking Points: Definitely an activity that relies more on technique than strength; with proper technique, most reasonably fit students should complete this activity.
Details
1. Start in the lying position, and warn students about hitting the metal struts underneath the bench.
2. Almost always lead with the foot first – if you heel hook beneath the bench, then again on the backside of the bench before moving the body, this is very easy. If you don’t, it’s very difficult.
3. At the last step, make sure only one leg is over the back of the bench, NOT BOTH. With BOTH LEGS over the back of the bench, it’s nearly impossible to get the rest of the body over. One leg first, then let the BODY follow.
Conclusion
Reiterate the key points from the beginning of the activity:
1. None of these exercises should be repeated outside of this activity.
2. The objective isn’t to build strength or necessarily learn technique, but to look at your environment a little differently.
How You Can Build on This Activity/Other Ideas
If time permits, try:
1. Flag poles
2. Upside down stair climbing (there’s a great spot behind Doheny Hall to do this)
3. CTY-sanctioned Parkour activities
The biggest difficulty is keeping students occupied and interested while they’re waiting for their turn. To ameliorate this problem, streamline the waiting process, split up into activities everyone can participate in at the same time, or actively encourage students to cheer on their friends and hall mates.
Photo Credit: Tran Nikki Chau
Comments are closed.