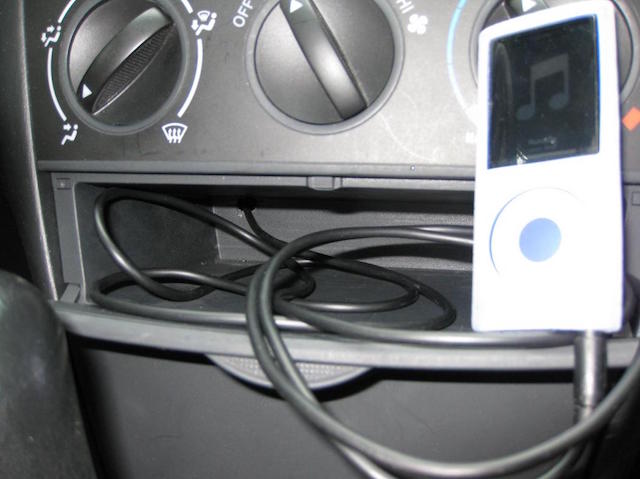
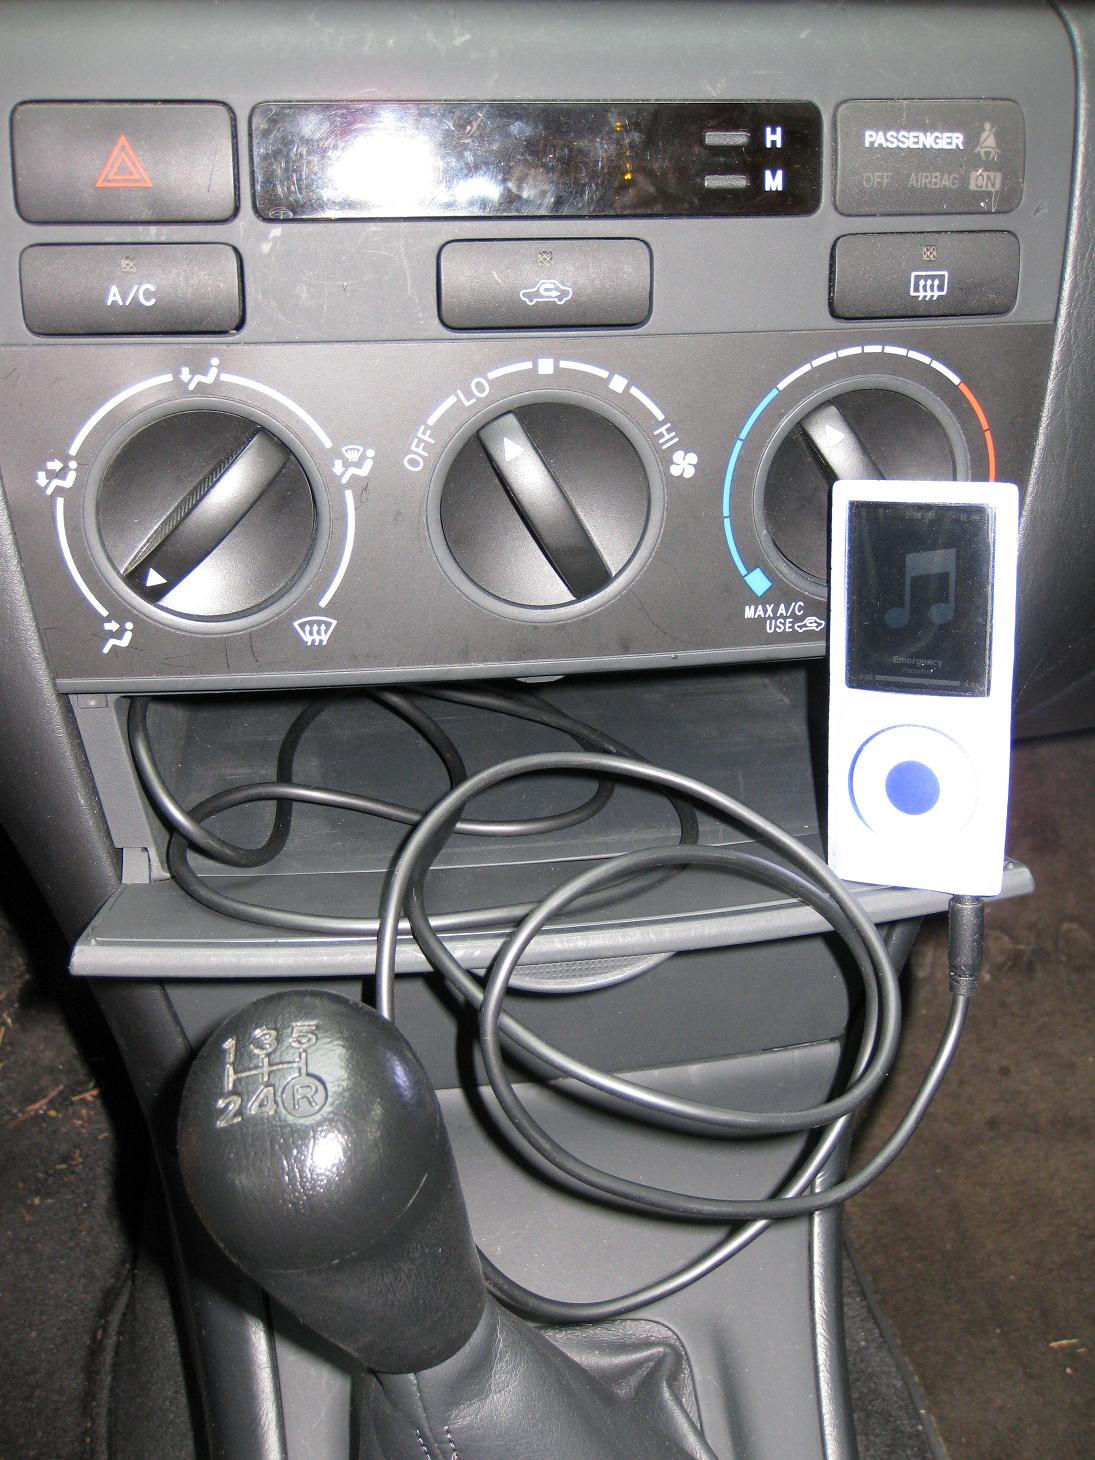
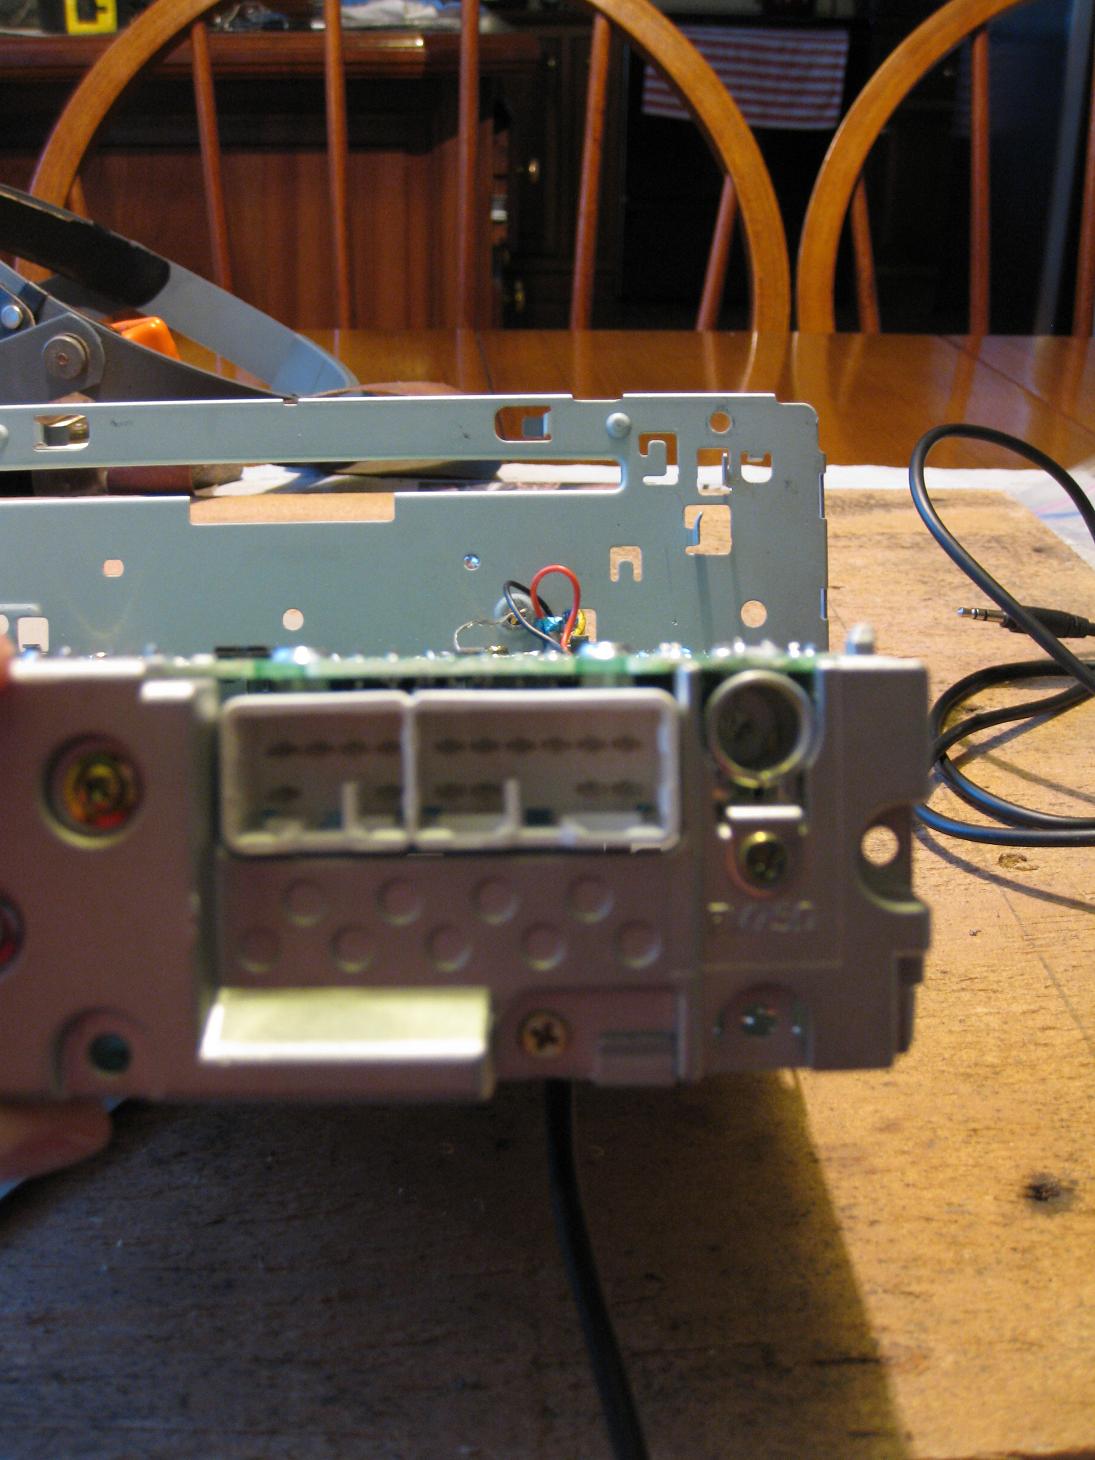
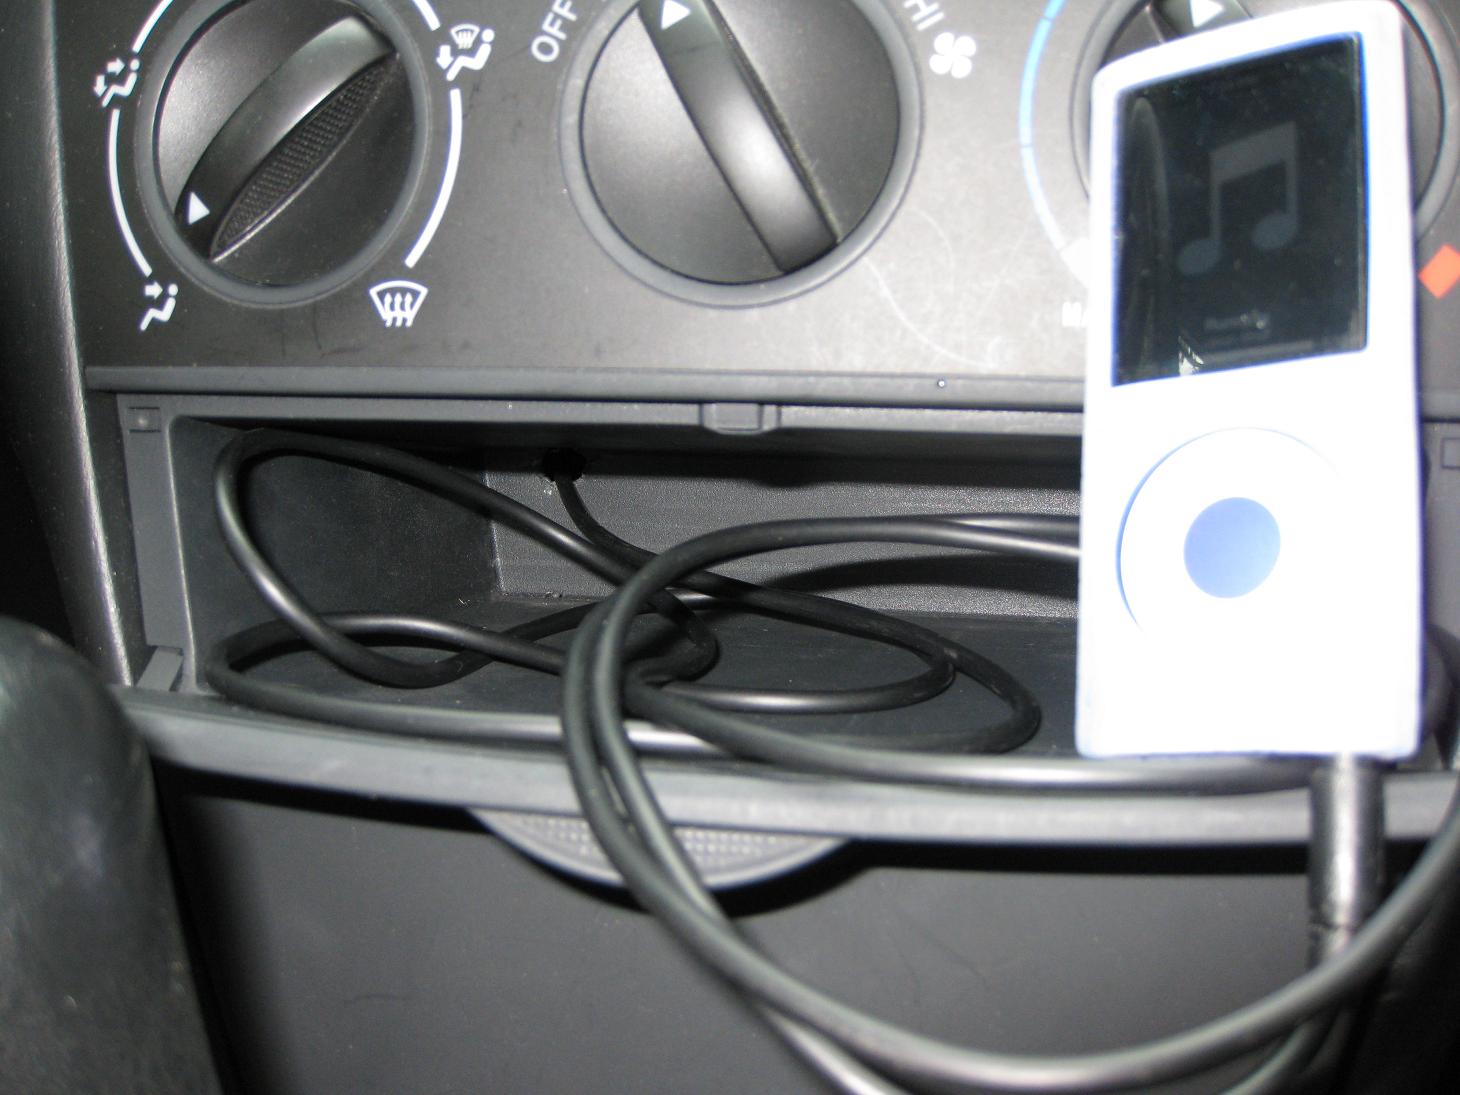
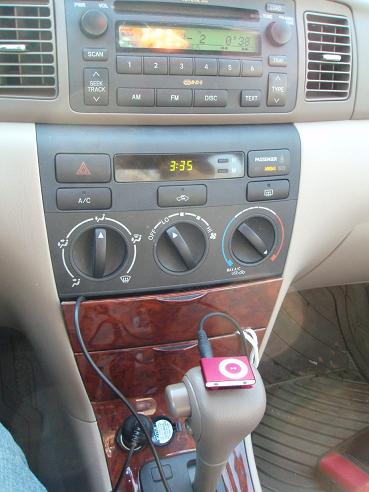
This hack creates an Aux-like hook-up from the stereo to an iPod, as pictured below.
To download a .pdf version of this guide, right-click here, and Save As.
Introduction
The hack was completed on a 2006 Corolla-S manual shift with a 6-CD Changer (model number: A51814.) The 2006 Corolla doesn’t have an auxiliary hook-up, and the stick physically interferes with a FM Transmitter – which sounds awful, anyway.
This hack was completed with zero knowledge about cars, stereos, or electronics.
References used:
Dante Cardova’s Stereo Removal Guide – no longer available
chrisayad’s Instructable
Matthew Jorgenson’s Ehow
Disclosure: Modifying your car and/or stereo may null/void any warranties, or cause irreparable damage. Working with a device that carries electrical charge may cause bodily harm. Proceed at your own risk; the author assumes no responsibility for any damage to the car, stereo, or yourself in following the guide.
Tools
Flat Head Screwdriver
Phillips Screwdriver
Socket Wrench
Paint Scraper (optional)
Wire Cutters
Headphone extension cable ($9 at Radio Shack – cut female end. Strip three inches to reveal three wires: red, black, and an exposed wire (gray))
Soldering Iron (requires a medium-level of soldering ability)
Solder
Silent CD (optional)
Stereo Removal
-
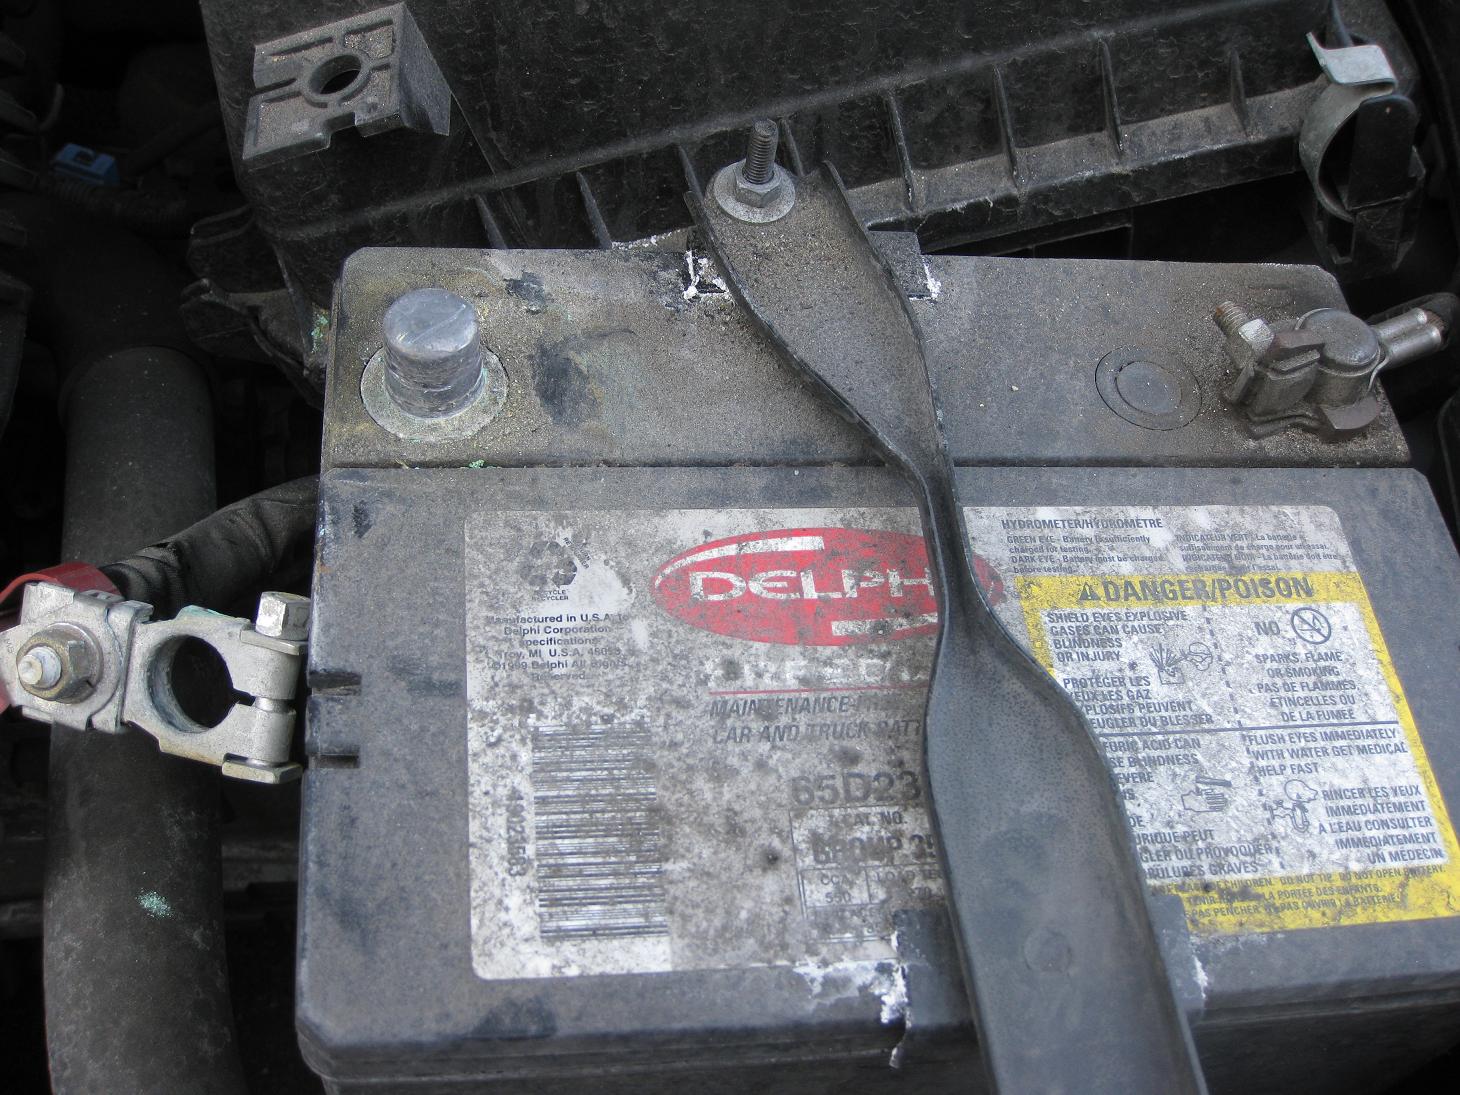
- Disconnect positive lead from car battery.
Prevents air bags from accidently deploying. Wait three minutes for charge in the capacitor to dissipate. Write down radio pre-sets; they will be lost. - Pop the base around the shifter.
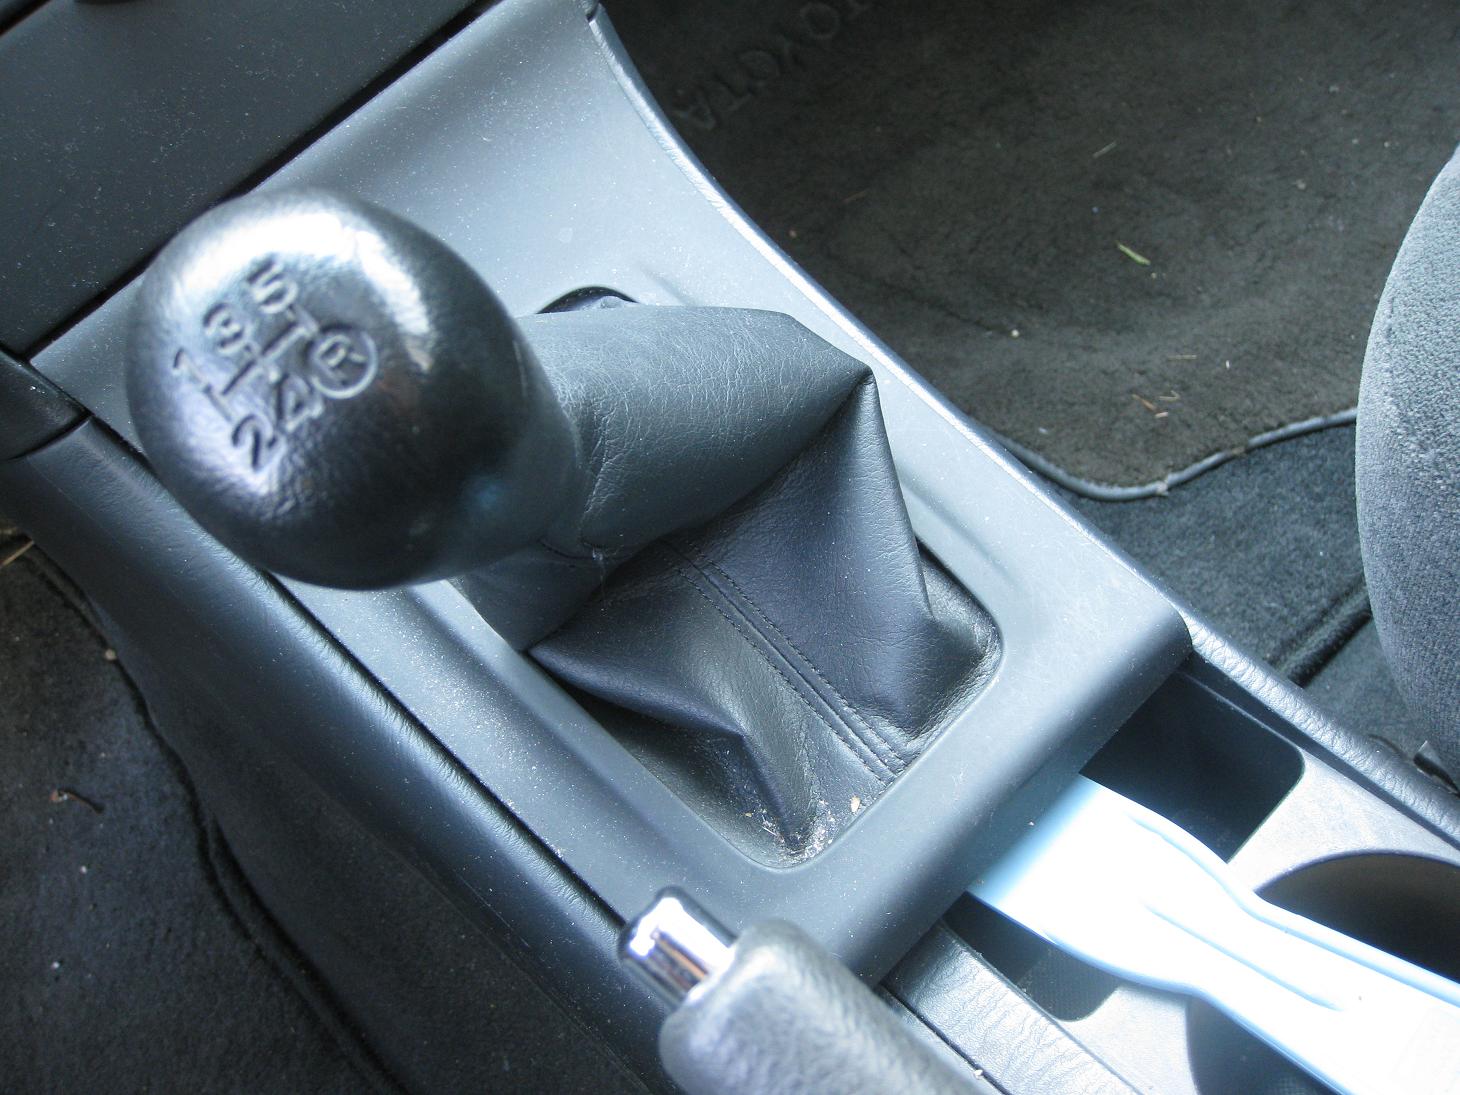
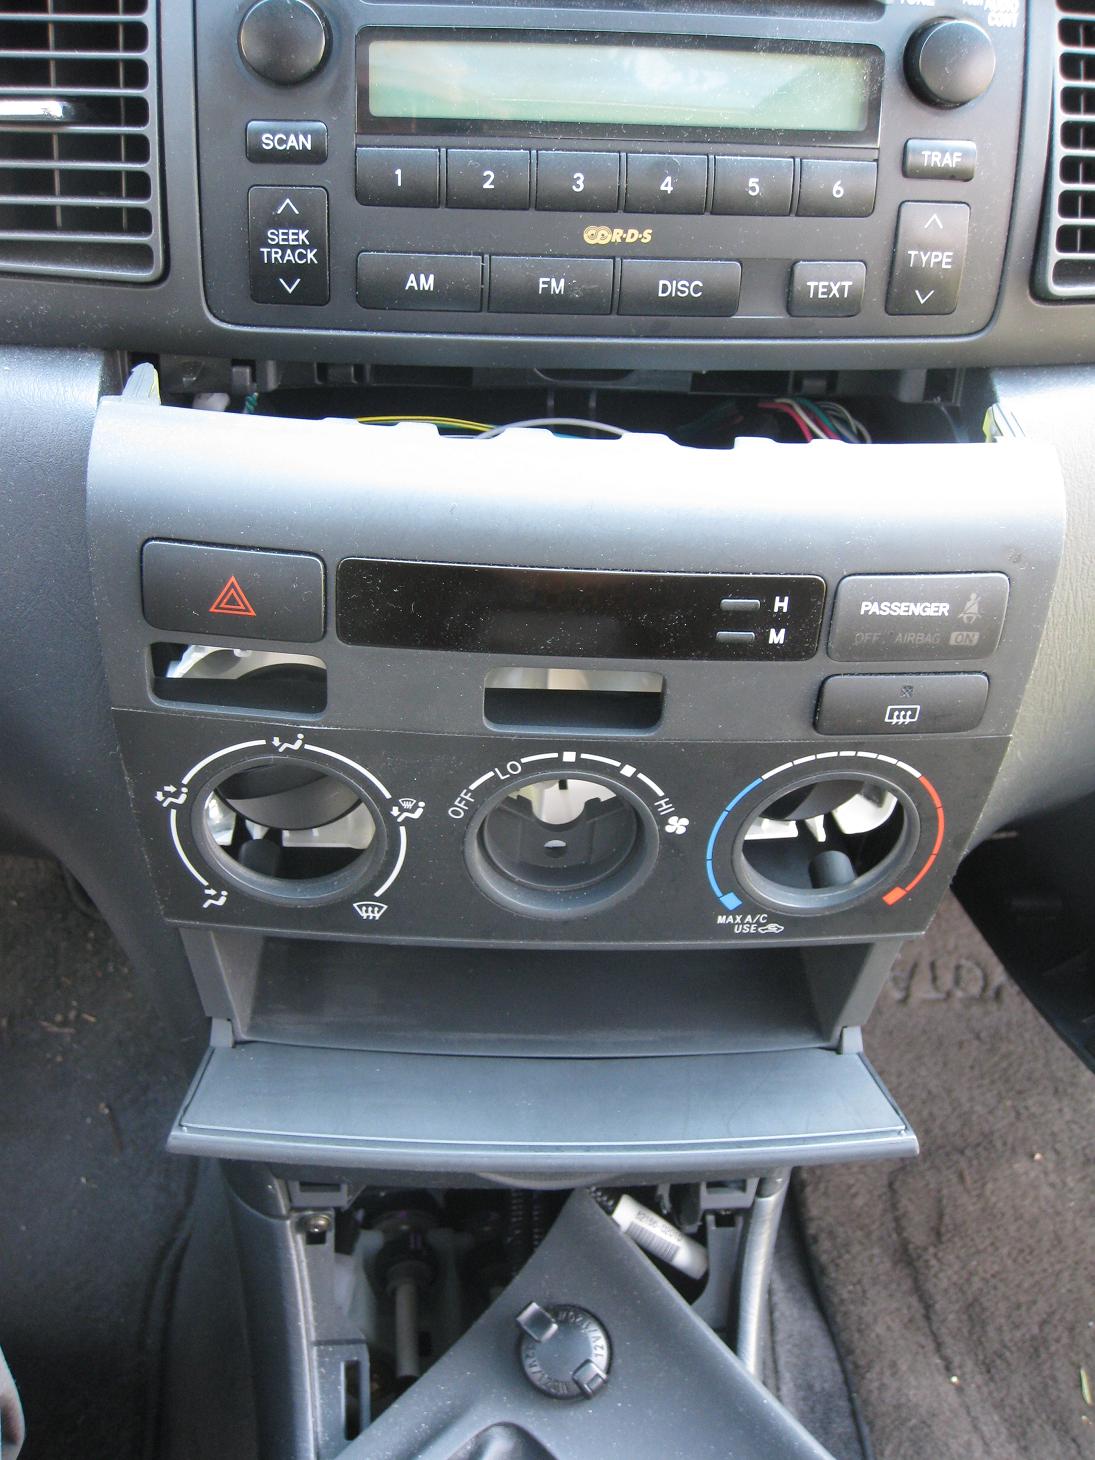
Wedge paint scraper at the bottom to pop off the base. Turn the base sideways to keep out of the way. - Remove single screw holding the A/C panel.
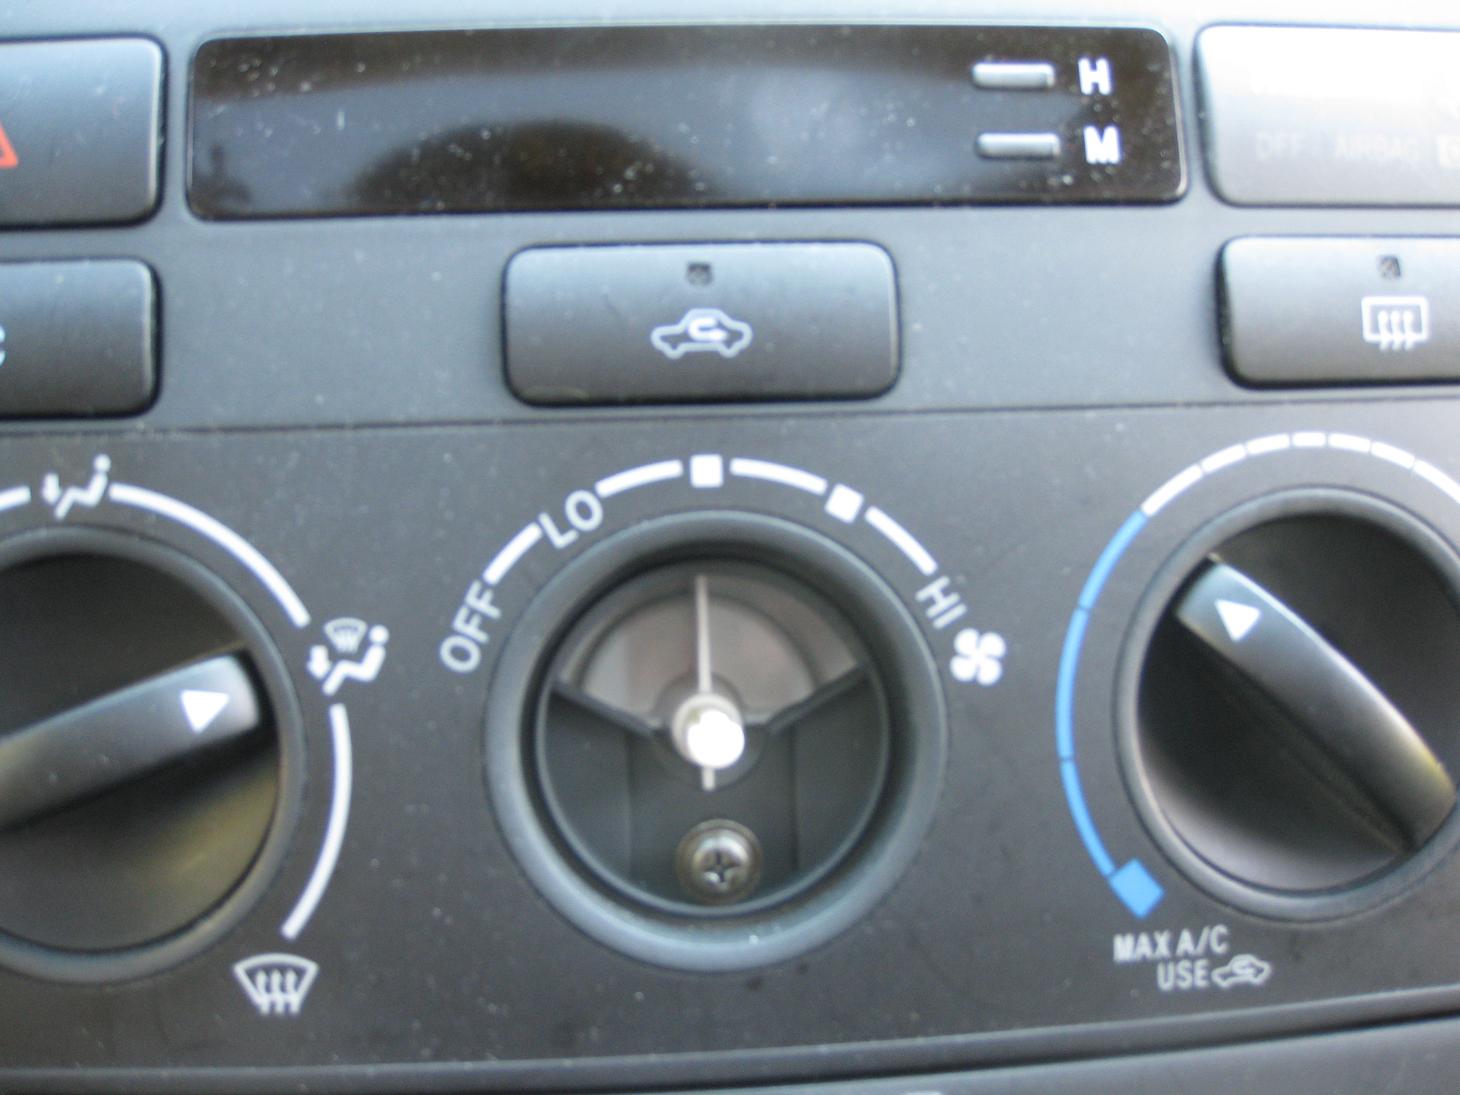
Pull middle knob of A/C panel straight out. The screw is hidden behind it. - Remove the A/C console.
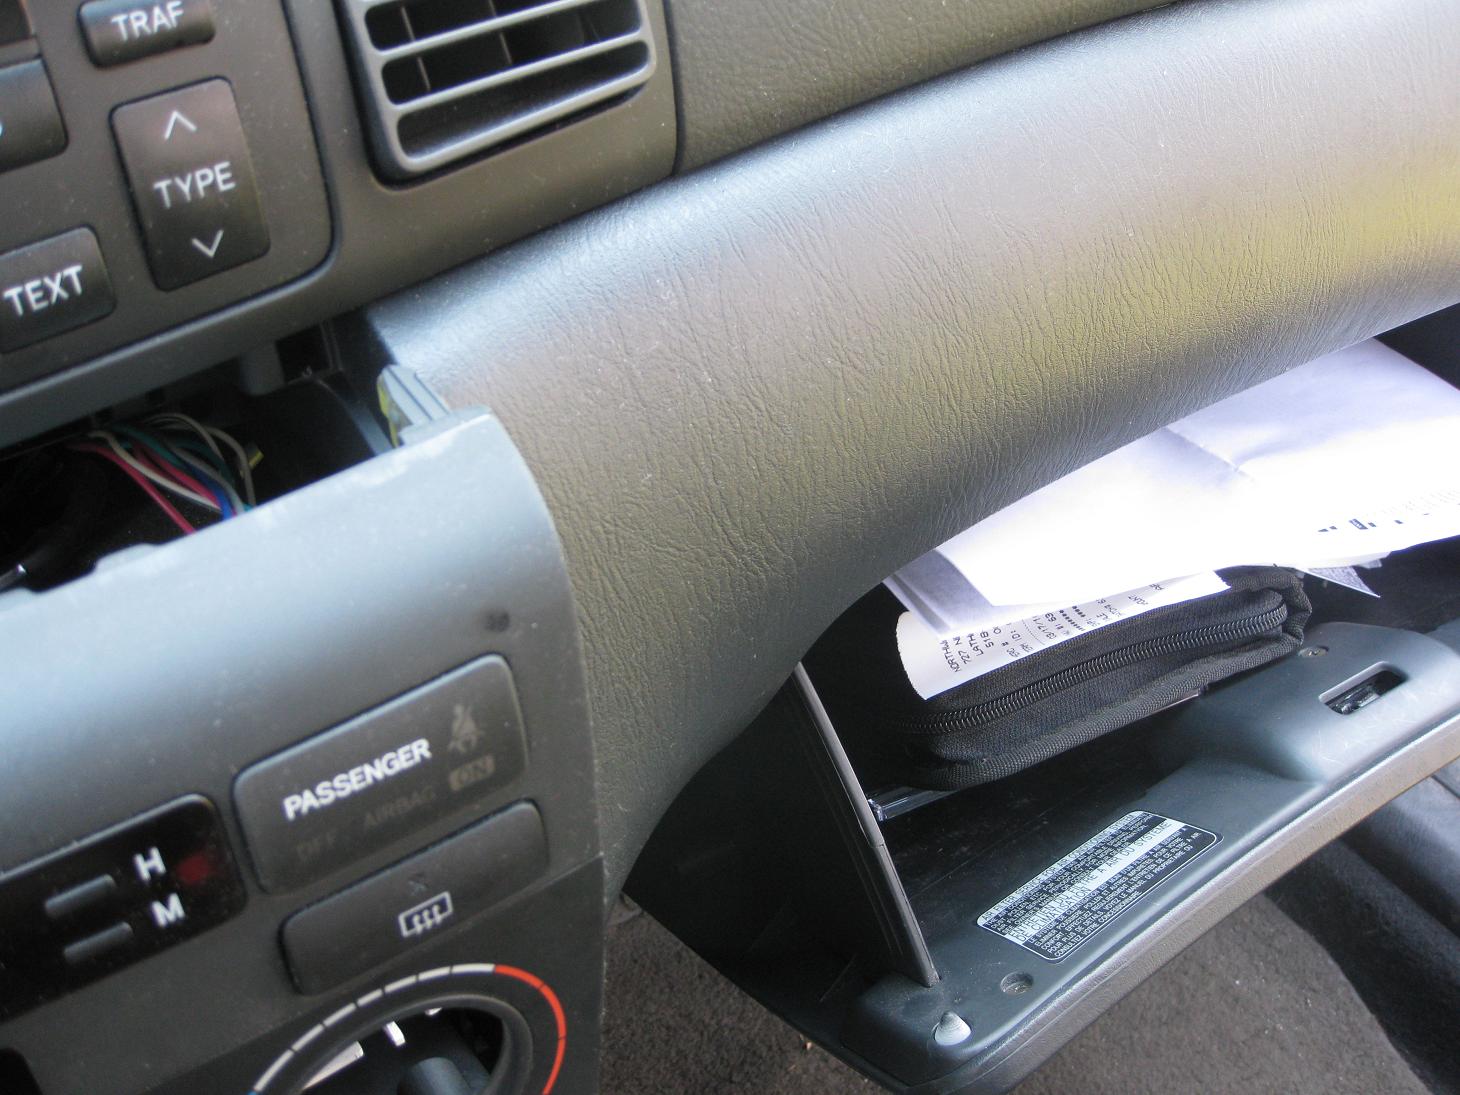
Four clips, located at the four corners, holding the console in place. Start with the top right corner – reach through the glove compartment and apply pressure from the side to release.
Next, the top left corner – wedge with the paint scraper, or apply pressure from the side. Tugging from the front (hook index finger on the inside of the removed knob) helps.
With the top unclipped, unclip the bottom, one side at a time.
- Disconnect positive lead from car battery.
-
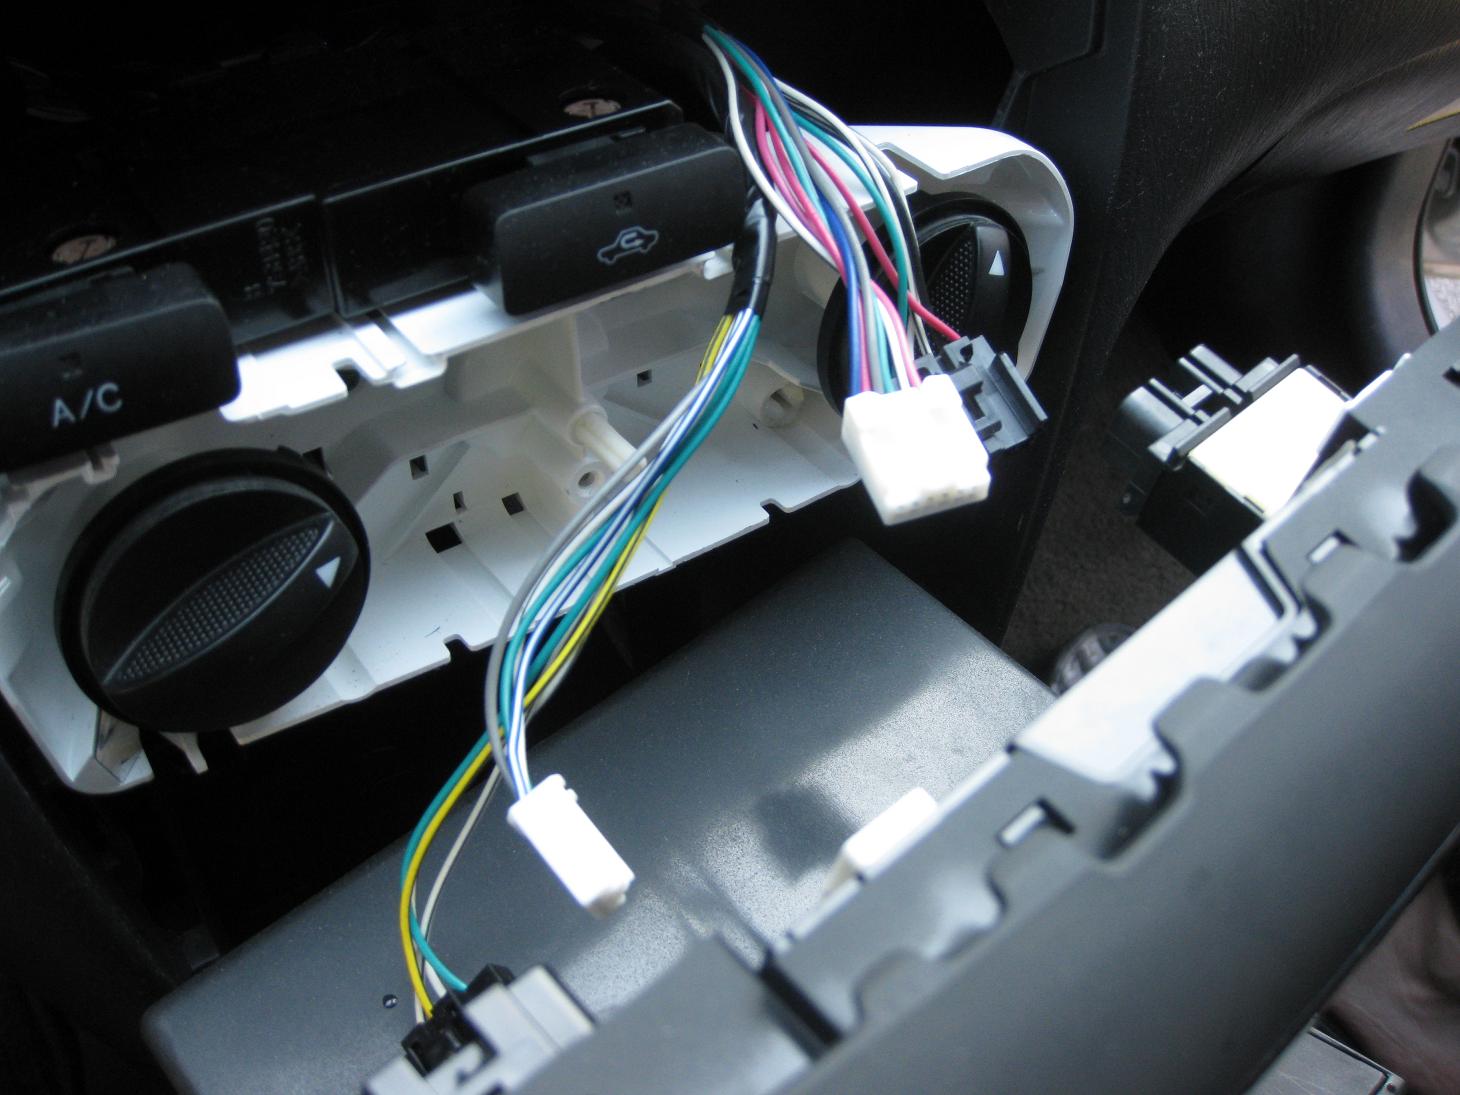
- Disconnect four cables hooked up to the A/C console.
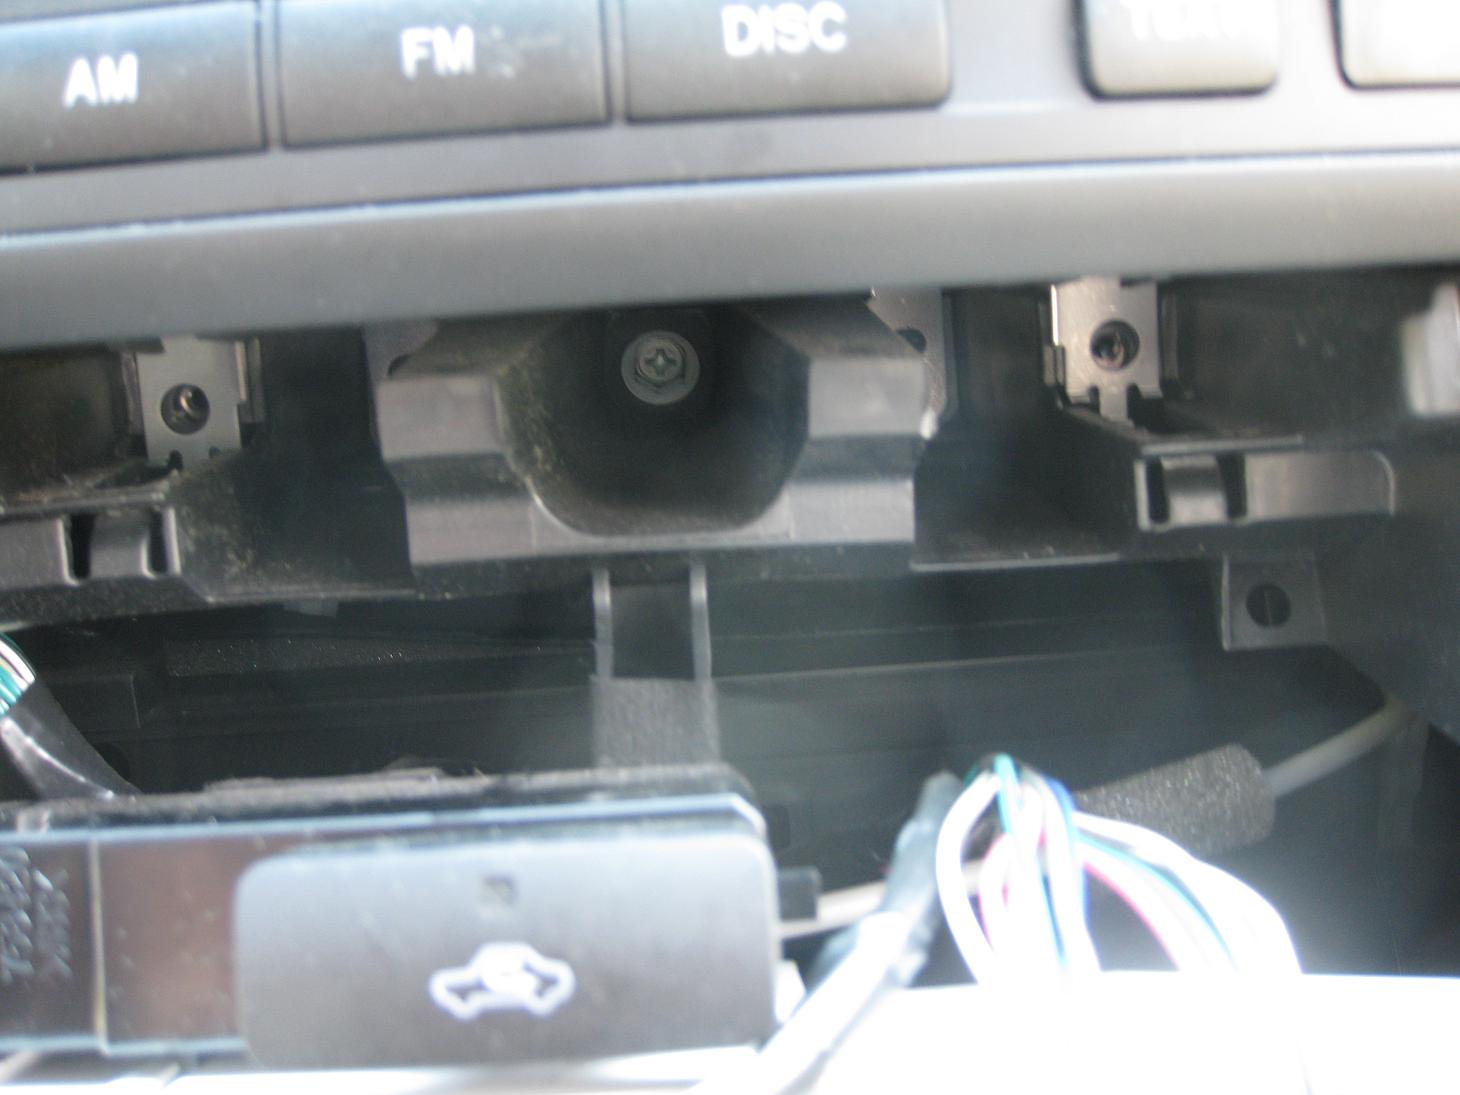
After removing the A/C console, cut a hole in the back of top change compartment with a screwdriver. The headphone extension cable will feed to the iPod at this point. - Unscrew four bolts below the stereo.
Use the long socket wrench, preferably with a magnetized tip. Dropping the bolt will send it tumbling down into the wiry dashboard. There’s a middle screw that does not need to come out. - Pull out the stereo, which will come out with the vent assembly.
Wedge paint scraper at the top corners to undo clips. The entire apparatus (stereo and vent assembly) will require some force to remove. - Unplug the stereo hook-ups in the back.
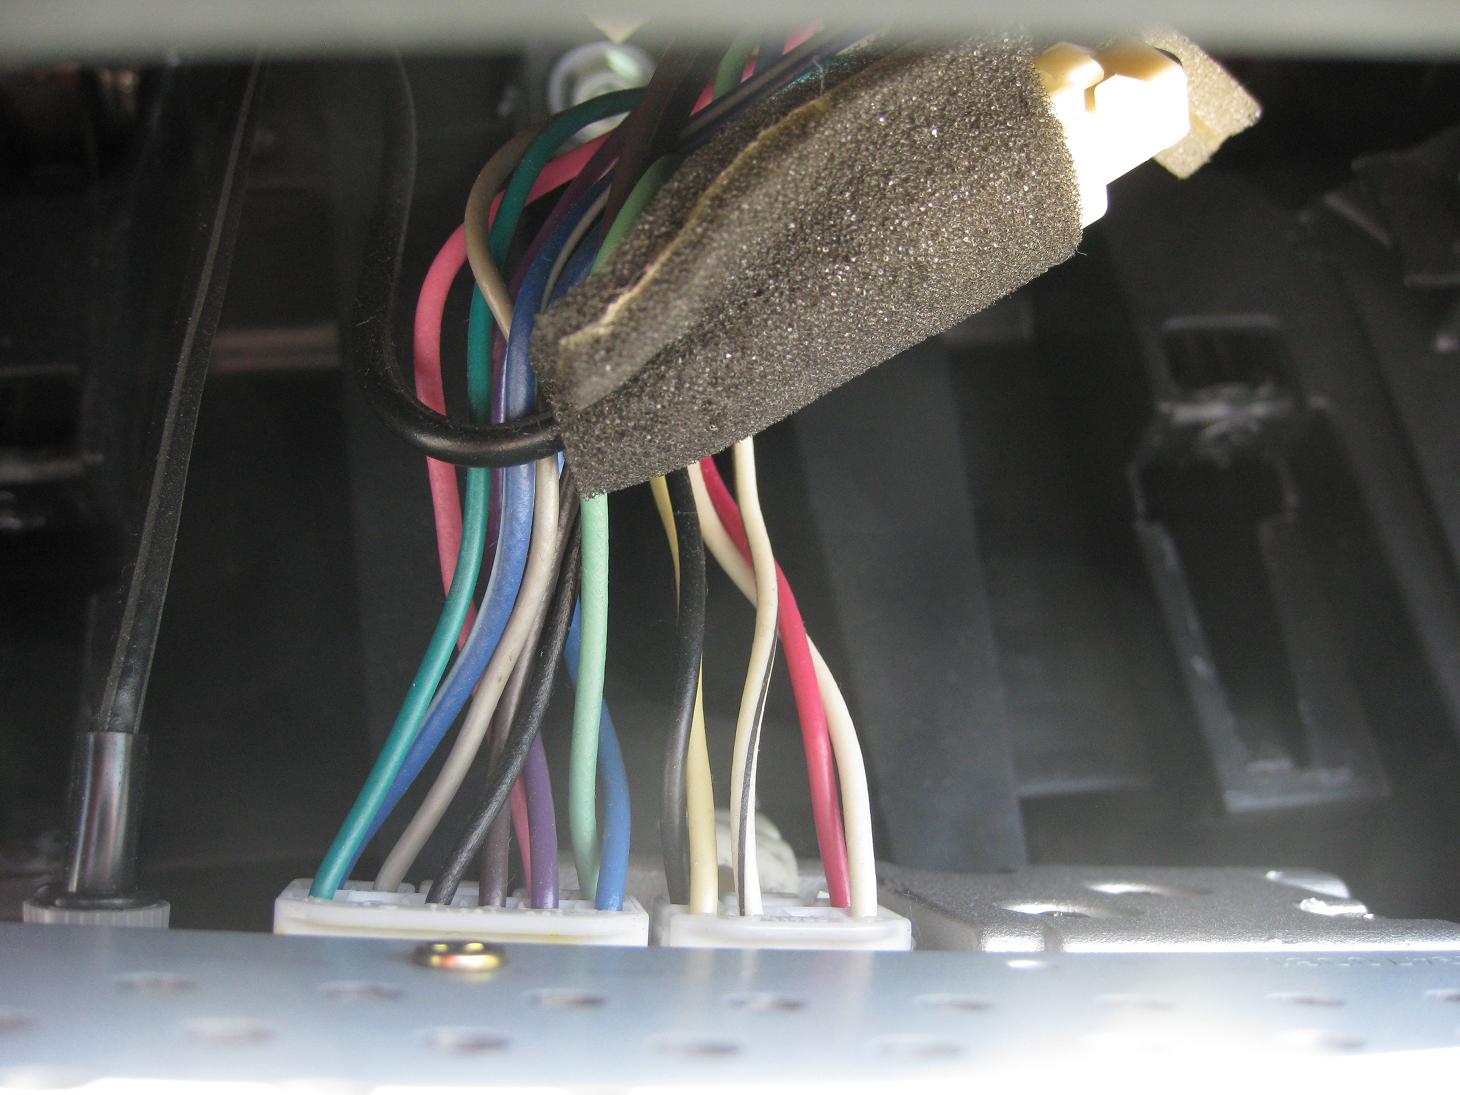
There are three, including the antennae. - Detach vent assembly from stereo.
- Start with the top right clip, then top left, then the bottom clips. Force required.
Stereo Modification
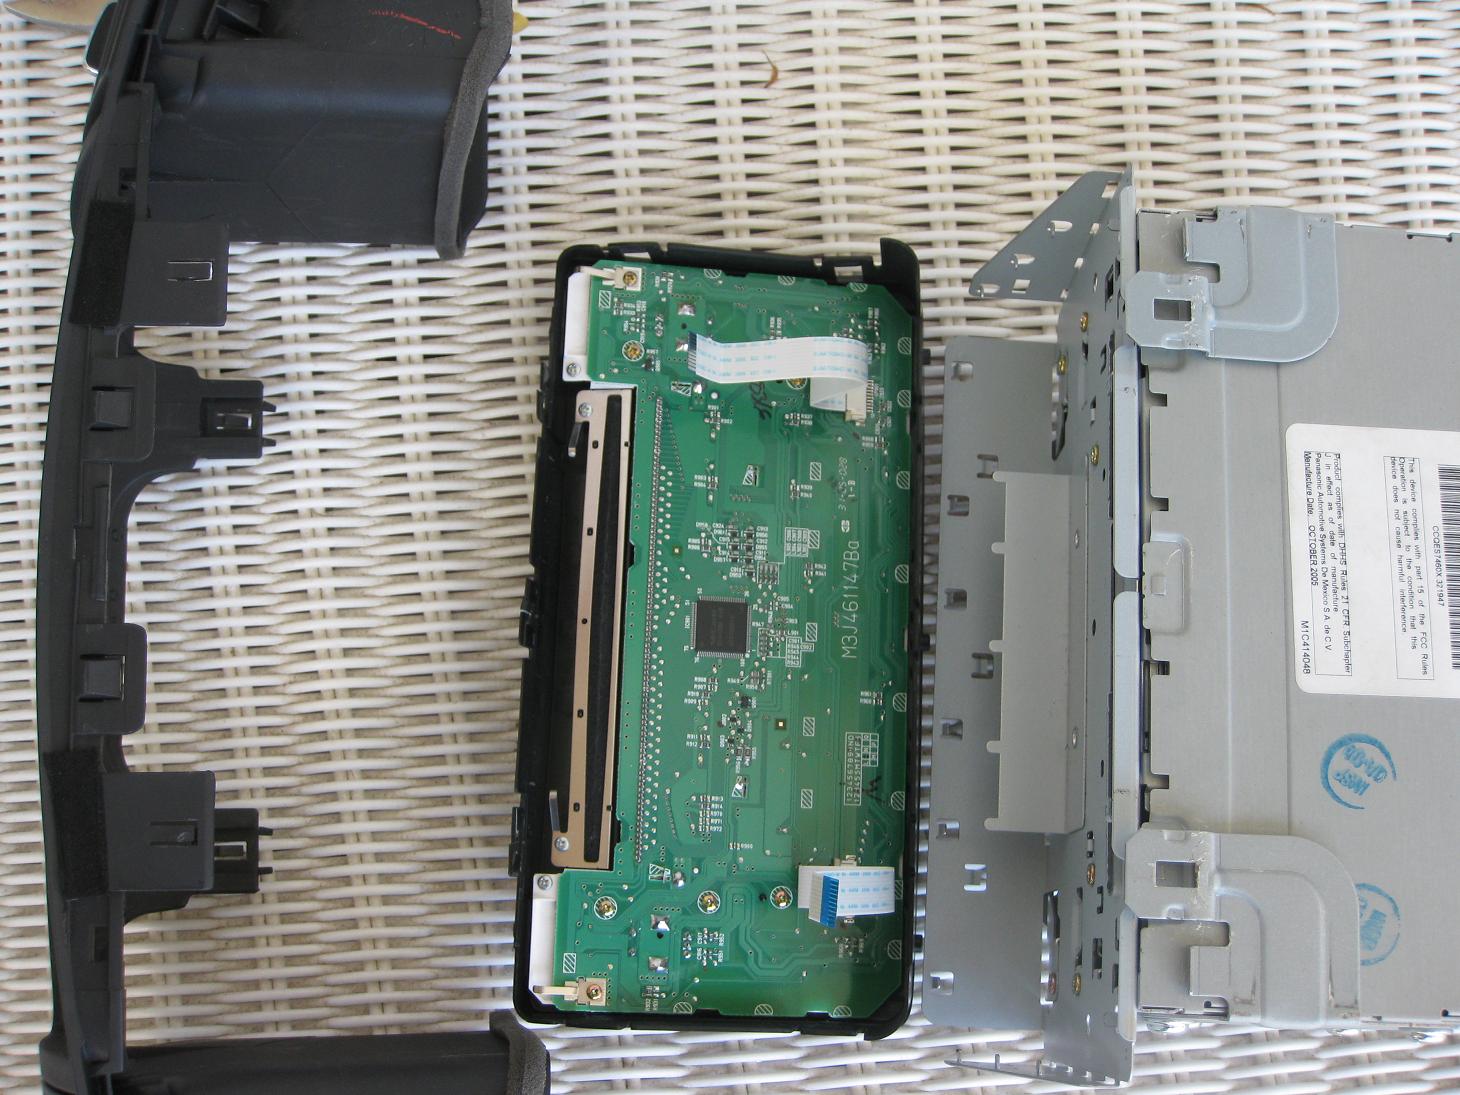
- Pop off face plate.
Again, starting at the top right clip, top left, then the bottom clips. There are two ribbons connecting the face plate to the stereo; detach slowly to prevent ripping. - Remove side brackets.
The screws are thread-locked, and will require force to “break” before unscrewing. - Unscrew the front, top, sides of the stereo casing.
Start with the front, top, then the sides. Collect all screws in a zip-lock bag. Unscrewing the back of the casing is unnecessary, though there is one screw per side holding the sides to the back. - Lift CD changer off the stereo circuit board.
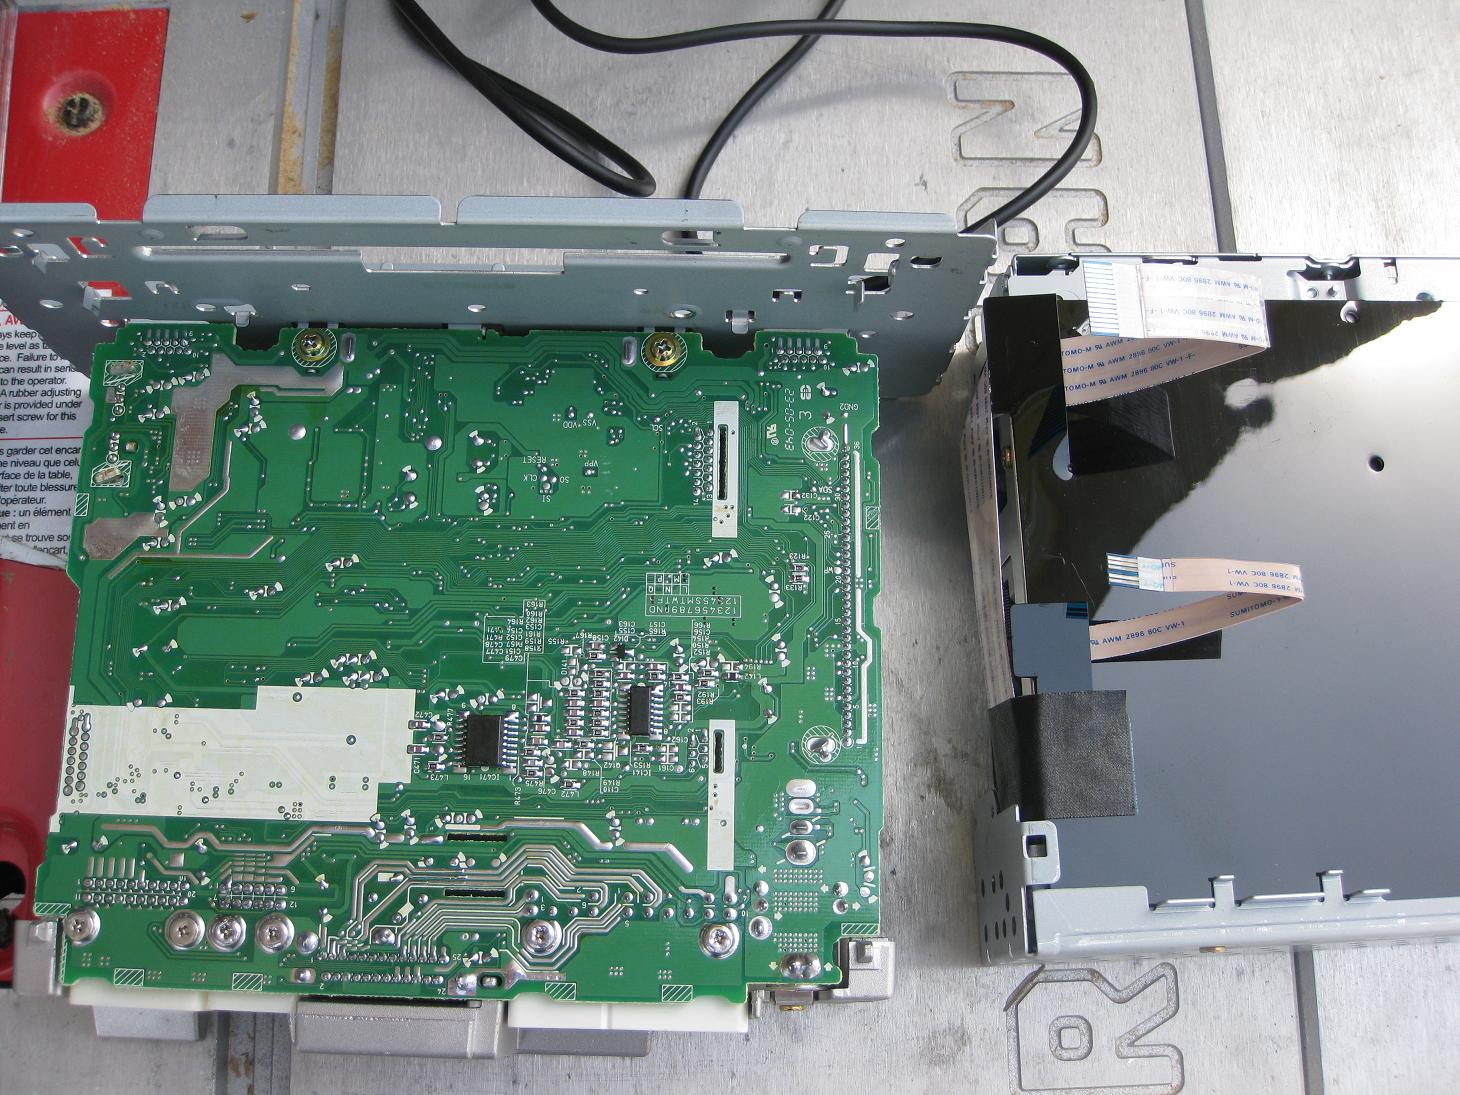
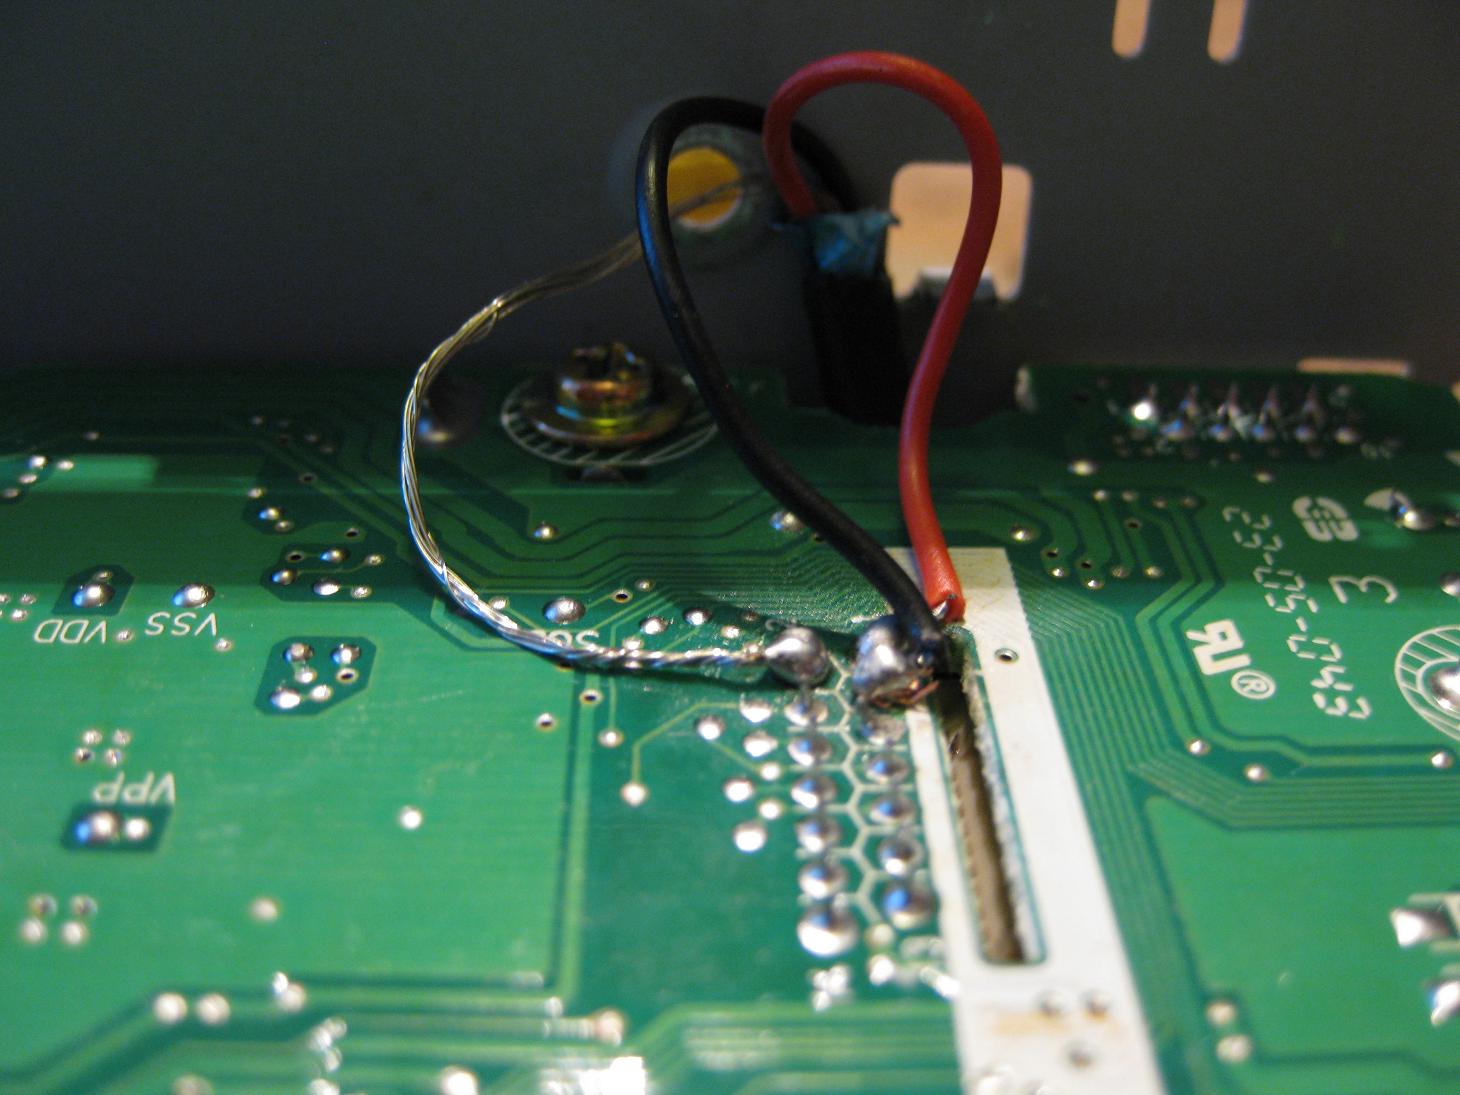
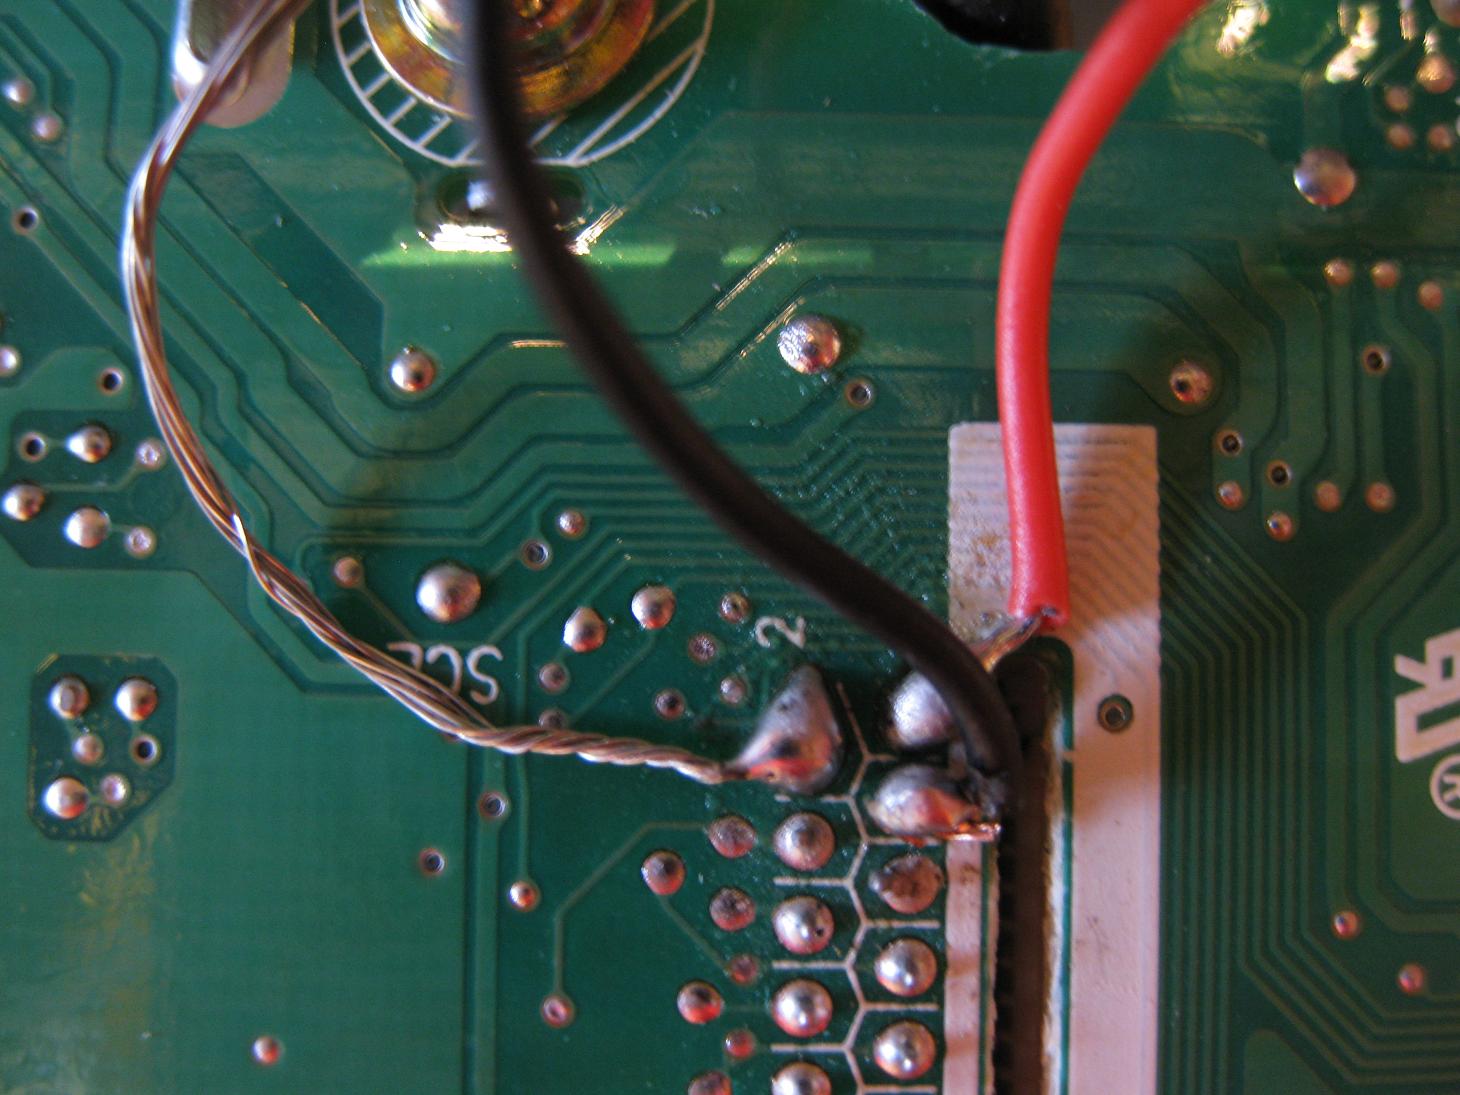
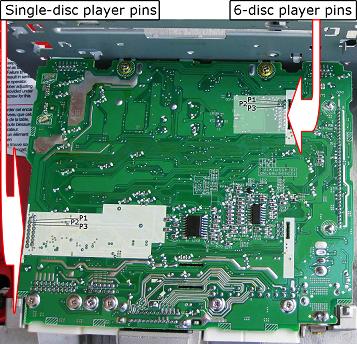
Two ribbons connect the CD changer to the stereo; carefully disconnect. Soldering occurs at the pins of the larger ribbon cable, as indicated in the picture below.
- Disconnect four cables hooked up to the A/C console.
- Position the extension cable.
The extension cable snakes out the back of the stereo, to feed into one of the change holders, which allows the iPod to be neatly tucked away. To execute, feed the extension cable from the bottom, through a cooling hole, then back up through a space between the circuit board and the casing.
- Solder.
On the cable: Red – Right Speaker
Black – Left Speaker
Gray – Ground
On the pin set:
P1 – Right Speaker
P2 – Ground
P3 – Left Speaker
Keep wires clear of where the ribbon cable plugs in. - Secure head phone extension wire.
Use hot glue, tape, or a twisty wire. Secure the wire along the bottom of the casing, where the wire was initially fed. Securing the wire shifts point of greatest tension from the soldering to the wire itself.
Reassembly
- Connect ribbon cables, place CD changer back on top of the stereo circuit board.
- Screw back side plates, top plate, front plate, and replace the front screws.
- Reattach brackets.
- Reconnect front plate, re-clip vent assembly.
- Feed the new “Aux Cable” into the back, down to the hole in the change holder.
- Reconnect the three stereo connections, slide the stereo back into place.
- Screw in the four bolts. Snap the A/C console back in place. Screw in the screw from the fan control, and plug the knob back in. Snap the shifter base back in place.
- Reconnect the battery.
- Plug in the iPod.
Run the CD player. The connection should override any CD that’s playing, although creating a silent CD is a better option.
To download a .pdf version of this guide, right-click here, and Save As.
UPDATE: 10.12.21
Drew Darrow completed this hack on a 2006 Corolla, non-sport, with a CD player, not a CD changer.
Below is his “graphicized” image of the circuit board, identifying Pins 1, 2, and 3 for both CD player and CD Changer.
Thanks Drew!
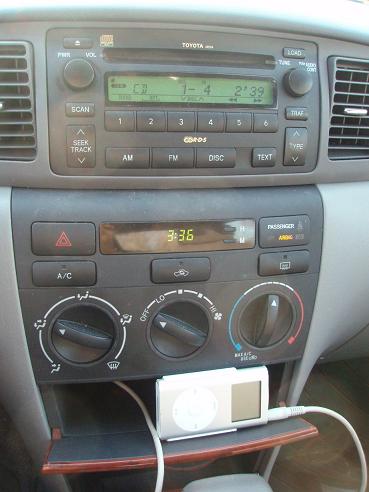
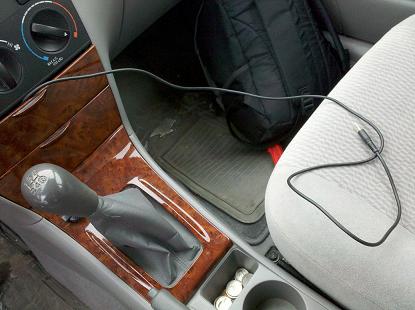
John Kelly successfully completed the hack on a ’05 and an ’07 Corolla. The end results are below:
Thanks John!
